My Merida dress is finished, so I thought I would share the process with you. I also recommend looking at
Angela Clayton's website to see her guide on making the costume. She explains her process in great detail, and provides information on making Merida's cloak and hair.
Merida is easily the best female character (apart from Mulan and perhaps Yzma XD) that Disney has created in recent years. She's brave and tough, and her story doesn't end with her falling in love - instead, she matures, while retaining her free spirit. I think she's a great character, so I wanted to cosplay her.
I started by taking a Simplicity pattern (one of their Medieval patterns) and altering it to removing the princess seams and to improve the fit.
Once the fit was right, I cut out the dress pieces. There is 1 front piece, 2 back pieces, and 4 godets for the sides to add volume. A godet is a triangle of material that you add to increase width: the opposite of a dart.
Next step was to overlock all the edges and sew the main part of the dress together
I added eyelets to the back and cut the little V shape out of the front.
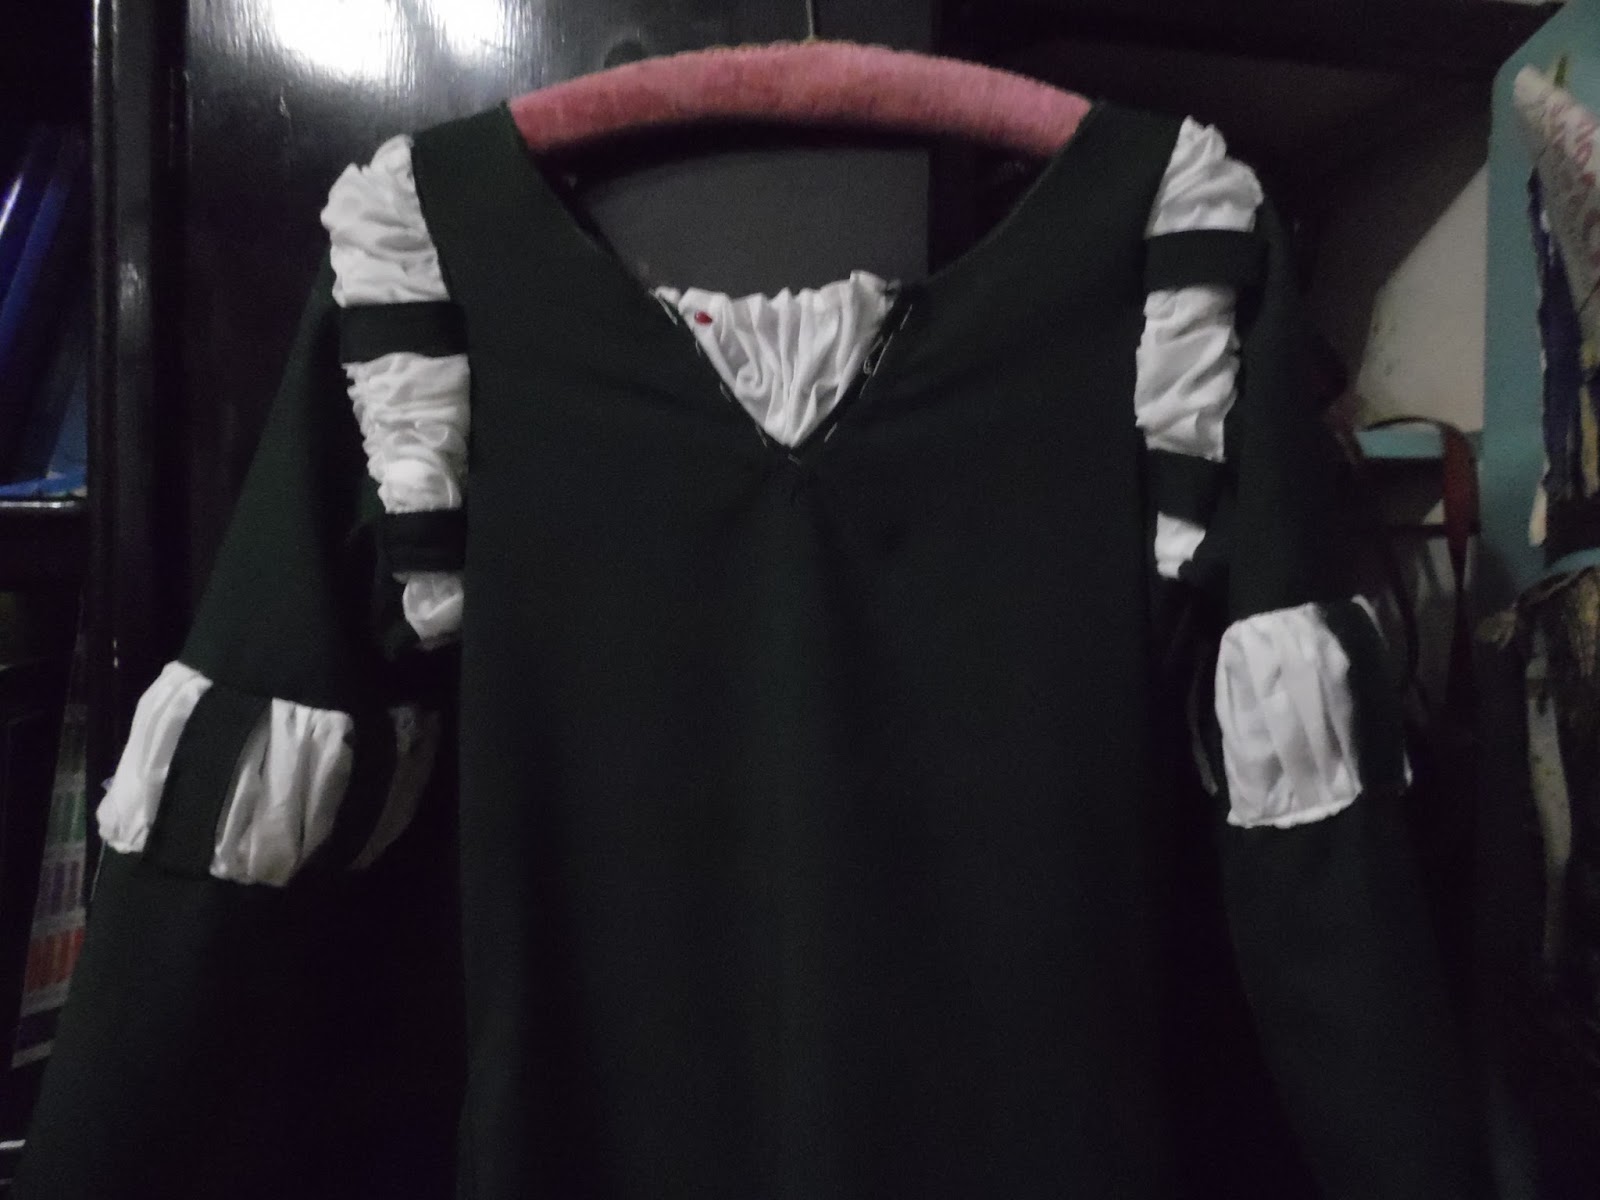
Sleeves! I think if I ever make a similar style dress, I'll do it differently. The
green sleeves are one solid piece, then ruffled pieces of white cotton were sew on top. Next I added the green rectangles on top.
.
This is what a finished sleeve looks like
Next step was to add the white material around the neck.
First I sewed in the white material at the V-shape.
Then a long white ruffle.
I make my ruffles by sewing a tube, turning it inside out, and ruffling it. That way, all raw edges are hidden.
The last step was the add lacing at the neck and back, and to sew the hem.
It looks really pretty, but it's too hot to wear it at the moment, so it will have to wait until winter.


.JPG)


No comments:
Post a Comment