

These ruffles looked like box pleats to me. Box pleats aren't difficult, but they are a bit tedious. The method I used to make the pleats was based on this video:
Calculating how much material you need is the tricky bit.
1. Measure your skirt hem. For example, let's say it is 70cm.
2. Then decide how wide you want the pleats; let's say 10cm.
3. Divide your skirt hem length by the pleat width; in this case 70/10 = 7 pleats.
4. You then need to see how much material each pleat takes up. Each 10cm pleat I made took up 20cm of material i.e. 10cm x 2. That means that the pleat material needs to be 2x the length of the skirt hem. In our example, that's 2 x 70 = 140cm.
 5. Make sure you have some extra material on hand, just in case!
6. Once you know how much material you need, cut it, but make sure you leave seam allowances and hem allowances. I double turned my hems to prevent fraying.
7. Start pleating. I used the technique in the video, with a piece of card 5cm wide. Make sure you pin them down. I did not iron my pleats down, because I wanted a more ruffly look.
 8. Baste the pleats down, and face them right sides with the skirt. Pin them down.
9. Check how they look. If you like it, sew it down.
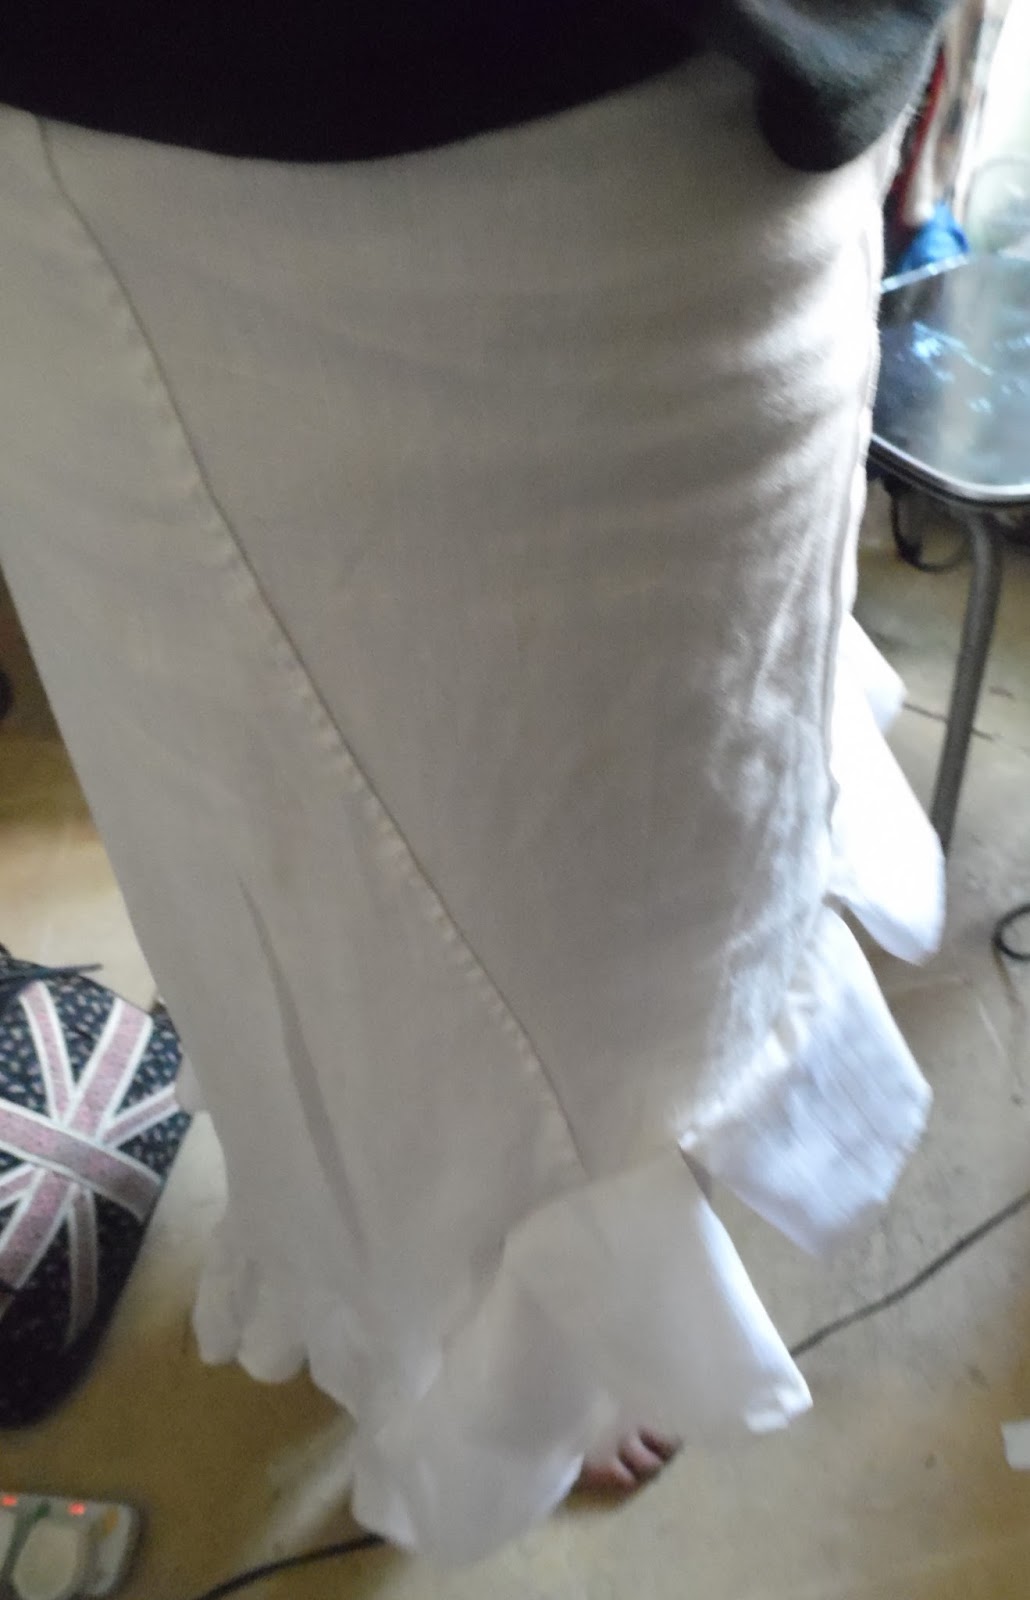
 10. To make the pleats look softer and more ruffled, stroke them downwards with your hand. You should get some nice cascading ruffles.
11. You can add another row of pleats or leave it as it is.


I just want to thank you. After a few weeks of looking for instructions for this skirt, I almost gave up. Your tutorial was excellent. I couldn't find anything close to this anywhere that looked. I needed the pictures and step by step to get the idea going. All my searches, I only would find the finished product. This was the most helpful and easy tutorial to follow. Very much appreciated!! KUDOS TO YOU!!
ReplyDeleteGlad to hear that this was useful to you. I'd love to see pictures of your project.
Delete