

I noticed the other day that I had all the materials to make this costume just lying around. Wonder Woman is a fantastic character, and it seemed a shame not to have a go at recreating her costume.
Part 1: The Corset
.JPG)
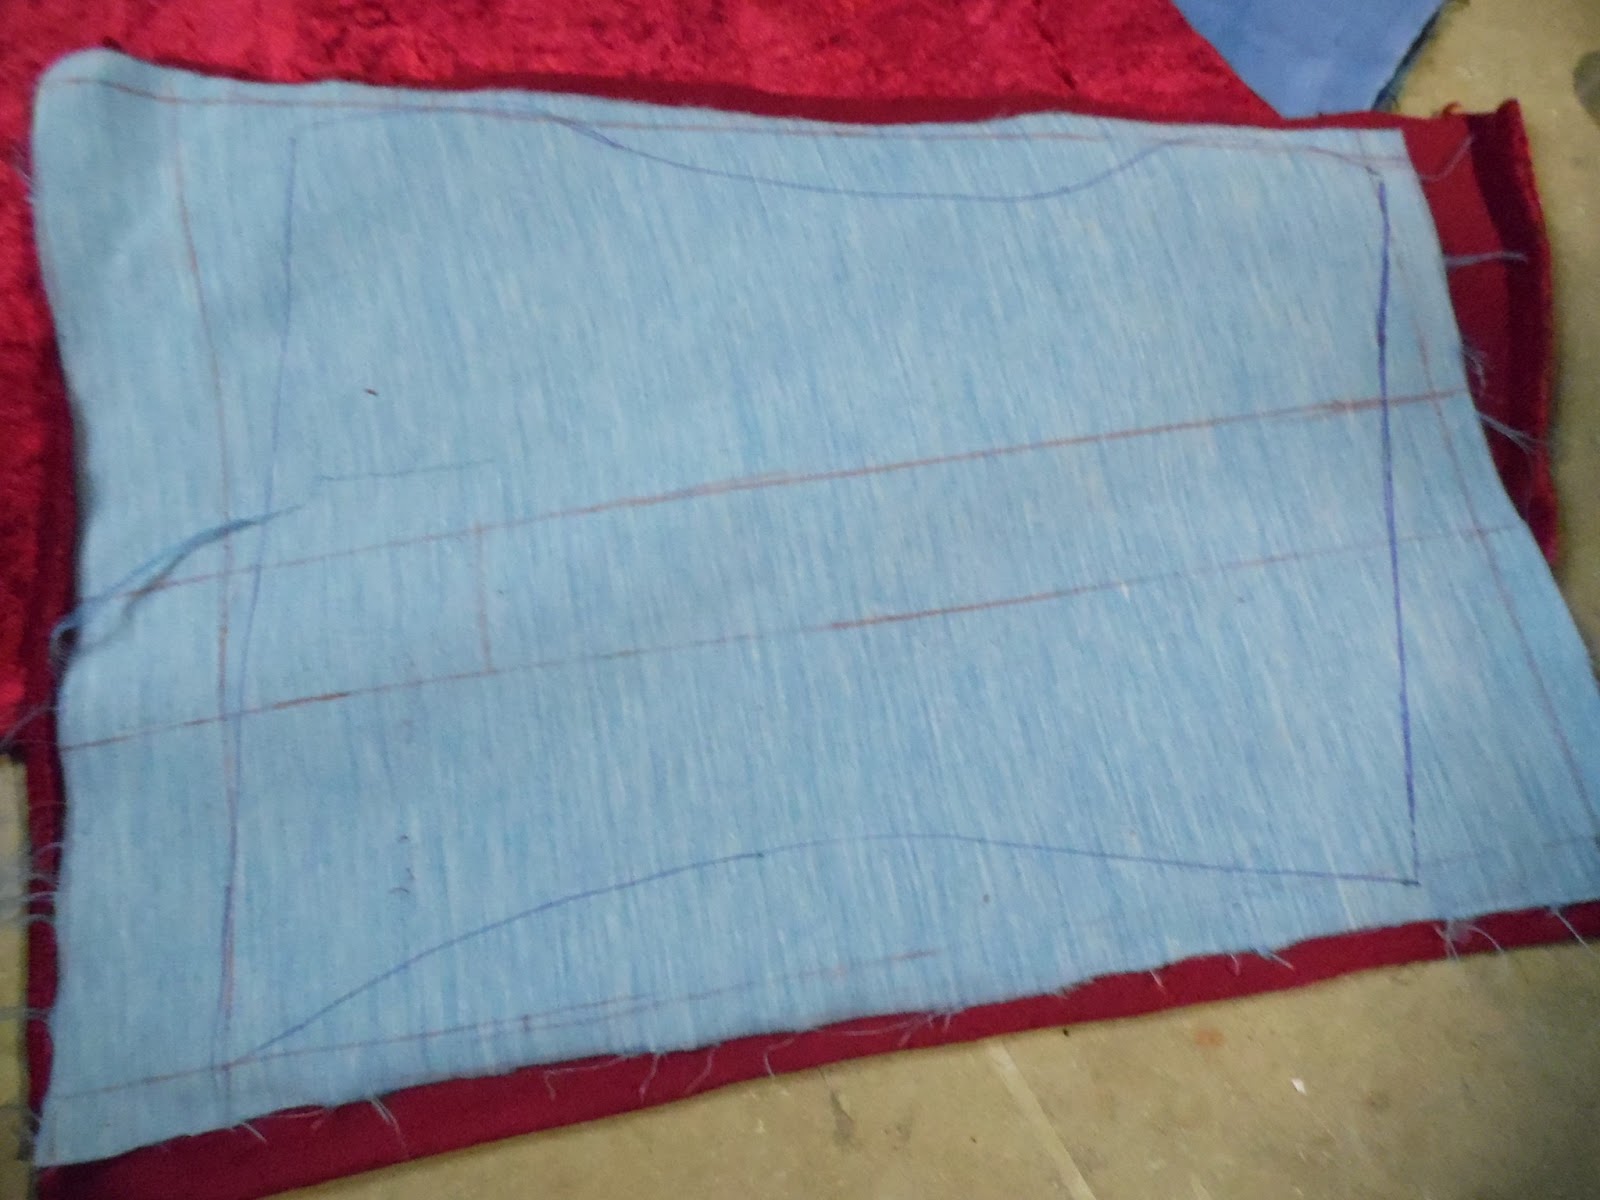
To make it easier when you need to trace, mark the boning channels on both sides of the paper.
2. Decide on your materials.

You should use cotton drill or coutil as a strength layer, which will stop the corset tearing under pressure. You can use the twill/coutil as lining or interlining.


So here are your three layers: ecotderm, mesoderm, and endoderm (yay biology). Though actually the American flag material will be the interlining, and the blue will be the lining.
3. Trace the boning channels on to your lining. This is time consuming but necessary. I used carbon paper, a tracing wheel, a biro that ran out of ink, and a ruler. You place the carbon paper on top of the material, then the pattern on top of the carbon paper. Draw over the lines of the boning channels with your pen/tracing wheel, pressing hard.

4. Pin the Interlining and lining together along the edges. Sew along the sides and bottom edge, but not the top. Sew the boning channels too.

6. Take your boning and cut it to size. I used plastic packing strips. Measure them against the boning channels, and round off the ends with scissors.
.JPG)
.JPG)
6. Pin the red layer of the corset to your lining, wrong sides together.
.JPG)
7. Take some bias tape, and sew it along the top and bottom edges of the corset. Sew slowly, so that you don't hit any boning.
8. Once all the edges have been finished with bias tape, time to add the eyelets. Turn the corset to the lining side, and mark out where you want your holes to be. Mine are one inch apart.
9. Make a hole, and use an awl to widen it. Insert your eyelet, following the instructions on the packet. Use a rubber mallet to hammer it in.
.JPG)
And you're done!
No comments:
Post a Comment