
The first thing to get to grips with was the embroidery and remaking the bib section of the dress.
Embroidery

I used an excellent tutorial by Emily Reginalds as a guide for the embroidery.
http://emilyreginalds.blogspot.com.mt/2016/07/the-north-remembers.html
I highly recommend her blog!
I bought embroidery thread in similar colours, and embroidered the wolf's head on a piece of organza. Parts of the wolf's face were a little too light, so I diluted some sepia acrylic ink and carefully painted it on to stain the thread to a darker shade of brown.
I then followed another tutorial by Ria Regalia and sewed the wolf's head on to the bib (I cut a new front bib. I was sure to make it longer so that it was more accurate).
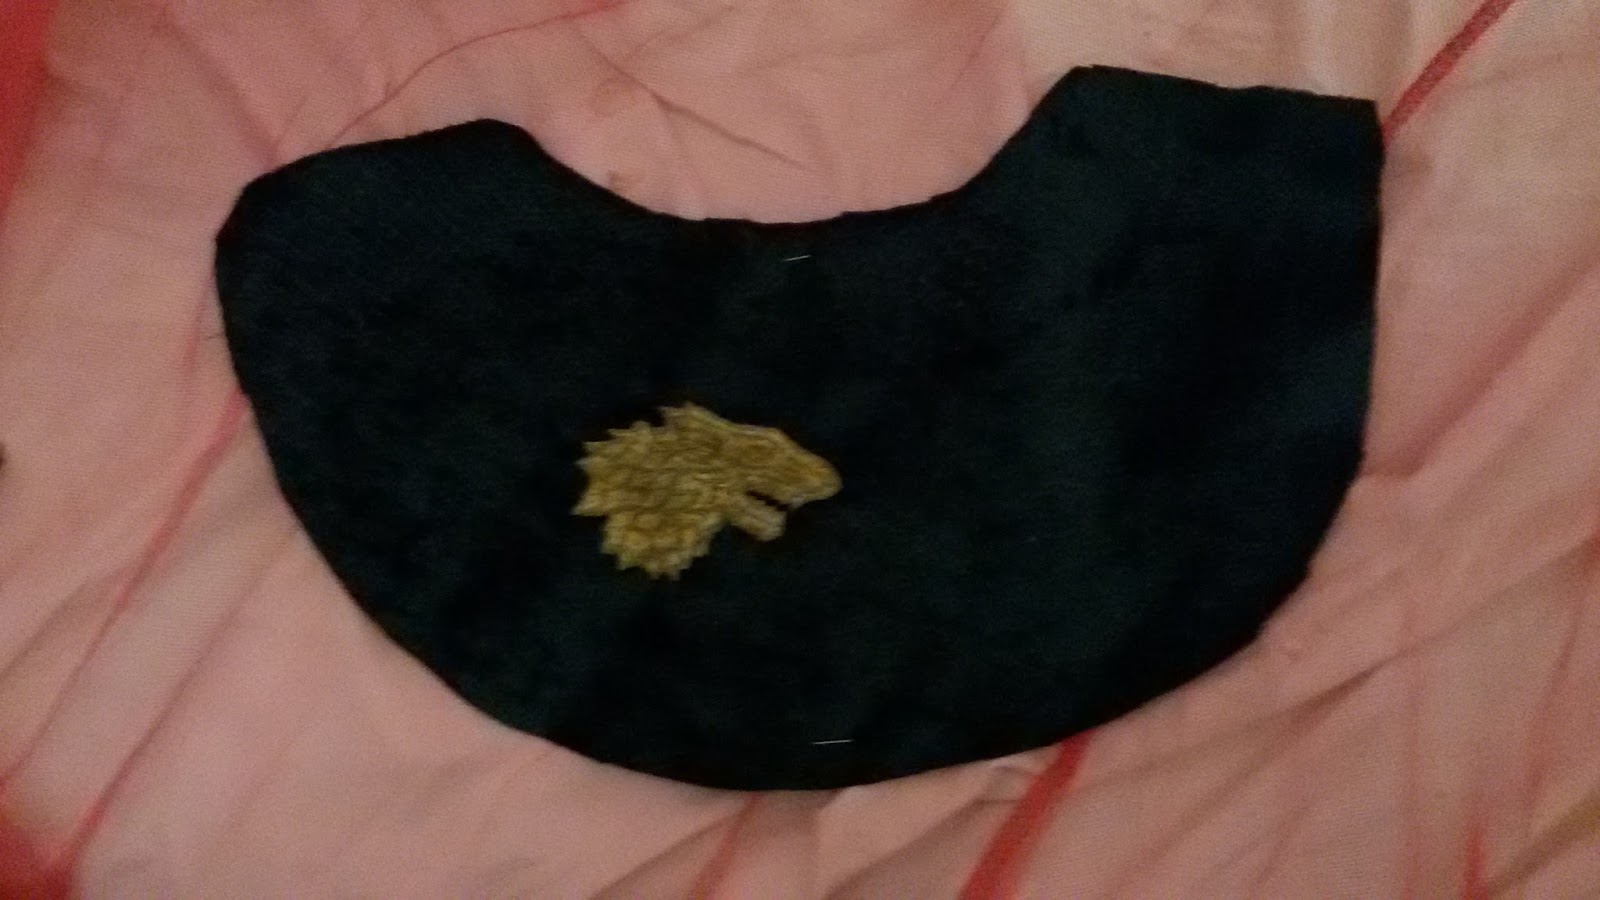
If you want a fantastic guide to embroidery in the style of Game Of Thrones, I highly recommend Ria Regalia's channel.
https://www.youtube.com/channel/UCAMVZqW5lHFtjllibZEDdBw
Once the wolf applique was stitched in place, I used chalk to draw on the vines bit by bit. I then used chain-stitch embroidery to create the vines.

I alternated between using an embroidery hoop and not using the hoop, depending on what I was stitching. The hoop was useful for seewing on the wolf's head and sewing the vines. For the leaves and beading it was easier to not use the hoop.

To create the leaves, I used a satin stitch. Once the embroidery was done, I started sewing on the beads. I used long tubular beads to define the lines of the wolf's fur. I used pearl and gold seed beads to define the lines of the wolf's head. I also used these beads on the vines.

I also sewed on the "shell" beads (they were advertised as shell beads but they look like plastic. They're still pretty though). I looked the the original embroidery by Michelle Carragher for reference.

Once the details of the wolf were sewn, I started adding beadwork to the vines. In the original design, the vines have metallic looking black beads, almost like hematite, and dark beads with a slight rainbow sheen.


I kept sewing on beads, looking at the original design for colour reference.

Sewing . . .

. . . more sewing . . .

Angela Clayton has some very useful beading tutorials that I referred to, though I didn't follow all of the steps.
https://www.youtube.com/watch?v=opp2vI_ZS2Y

The final step was to sew on the scattered beads near the wolf's neck and some of the vines, and the beadwork was done.

Here's the underside: not very pretty!
The Bib

The first bib that I made was too short in front. I unpicked the seams and remade the front. Once all the beading and embroidery was done I sewed it back on. I cut all the pieces again from my lining material, then lined the piece. I used a combination of machine and handstitching. I think the easiest method would be to fold over the seams and then handsew the lining on: Angela Clayton uses this method a lot in her costume making and explains it better than I do:
https://doxiequeen1.wordpress.com/2015/01/23/making-a-pair-of-bodies/


All the while, I kept pinning it on the dress form to check the fit and look.


Here's a view of the front and back. The only unsewn seams are the backseam, and the front side seam (I left that unpinned so that I could adjust the fit). I also unpicked the ugly zipper on the back of the bib.
My method was overly complicated. I would have preferred to sew the whole thing by machine and flip it right-side out, but parts of the bib were so narrow that I couldn't turn it inside out. That's why I had to partly handsew and machine sew this piece.
Once the bib was sewn, I cut open the back of the dress, tacked the bib to the dress, and added a zip to close everything (I should have cut the back as two pieces and not on fold, but when I started this project I was thinking of making the bib as a completely separate piece).
So here's the finished dress (though not hemmed in these pictures) and bib.


The Fur Stole
The fur stole was very easy to make. I found an ideal faux fur scarf in a shop. It was originally a circle scarf. I used a craft knife to cut the scarf open, so that I had a straight line. I then turned the raw edges under and hand-stitched them closed.

The Cloak
I had 4 metres of a nice medium to heavy weight cotton with a fleur de lys pattern. I thought that it would work well for Sansa's cloak. I cut a piece of cloth that was slightly longer than I need, to allow for a double-turned hem and the neck drawstring.
I made the drawstring from acrylic yarn. I found an excellent tutorial that explains how to make cord from wool: http://babbledabbledo.com/yarn-craft-idea-make-yarn-rope/

I sewed the casing for the drawstring, threaded it through, and used it to gather the top of the cloak to the right size. I tacked it in place for security. The cloak sits on my shoulders, with the cord going round my should and tying at the back. It is surprisingly secure.


I turned up the hem twice and sewed it in place with a blind-hem stitch.
And then Sansa's costume was done!

Now all I have to do is wait for winter to get some good photos!


