Showing posts with label cosplay. Show all posts

Tuesday, March 30, 2021

New 52 Harley Quinn

It seems that I also forgot to upload the process of making New 52 Harley Quinn. 
I think that I made this in 2016 and wore it to Mondocon 2016.   
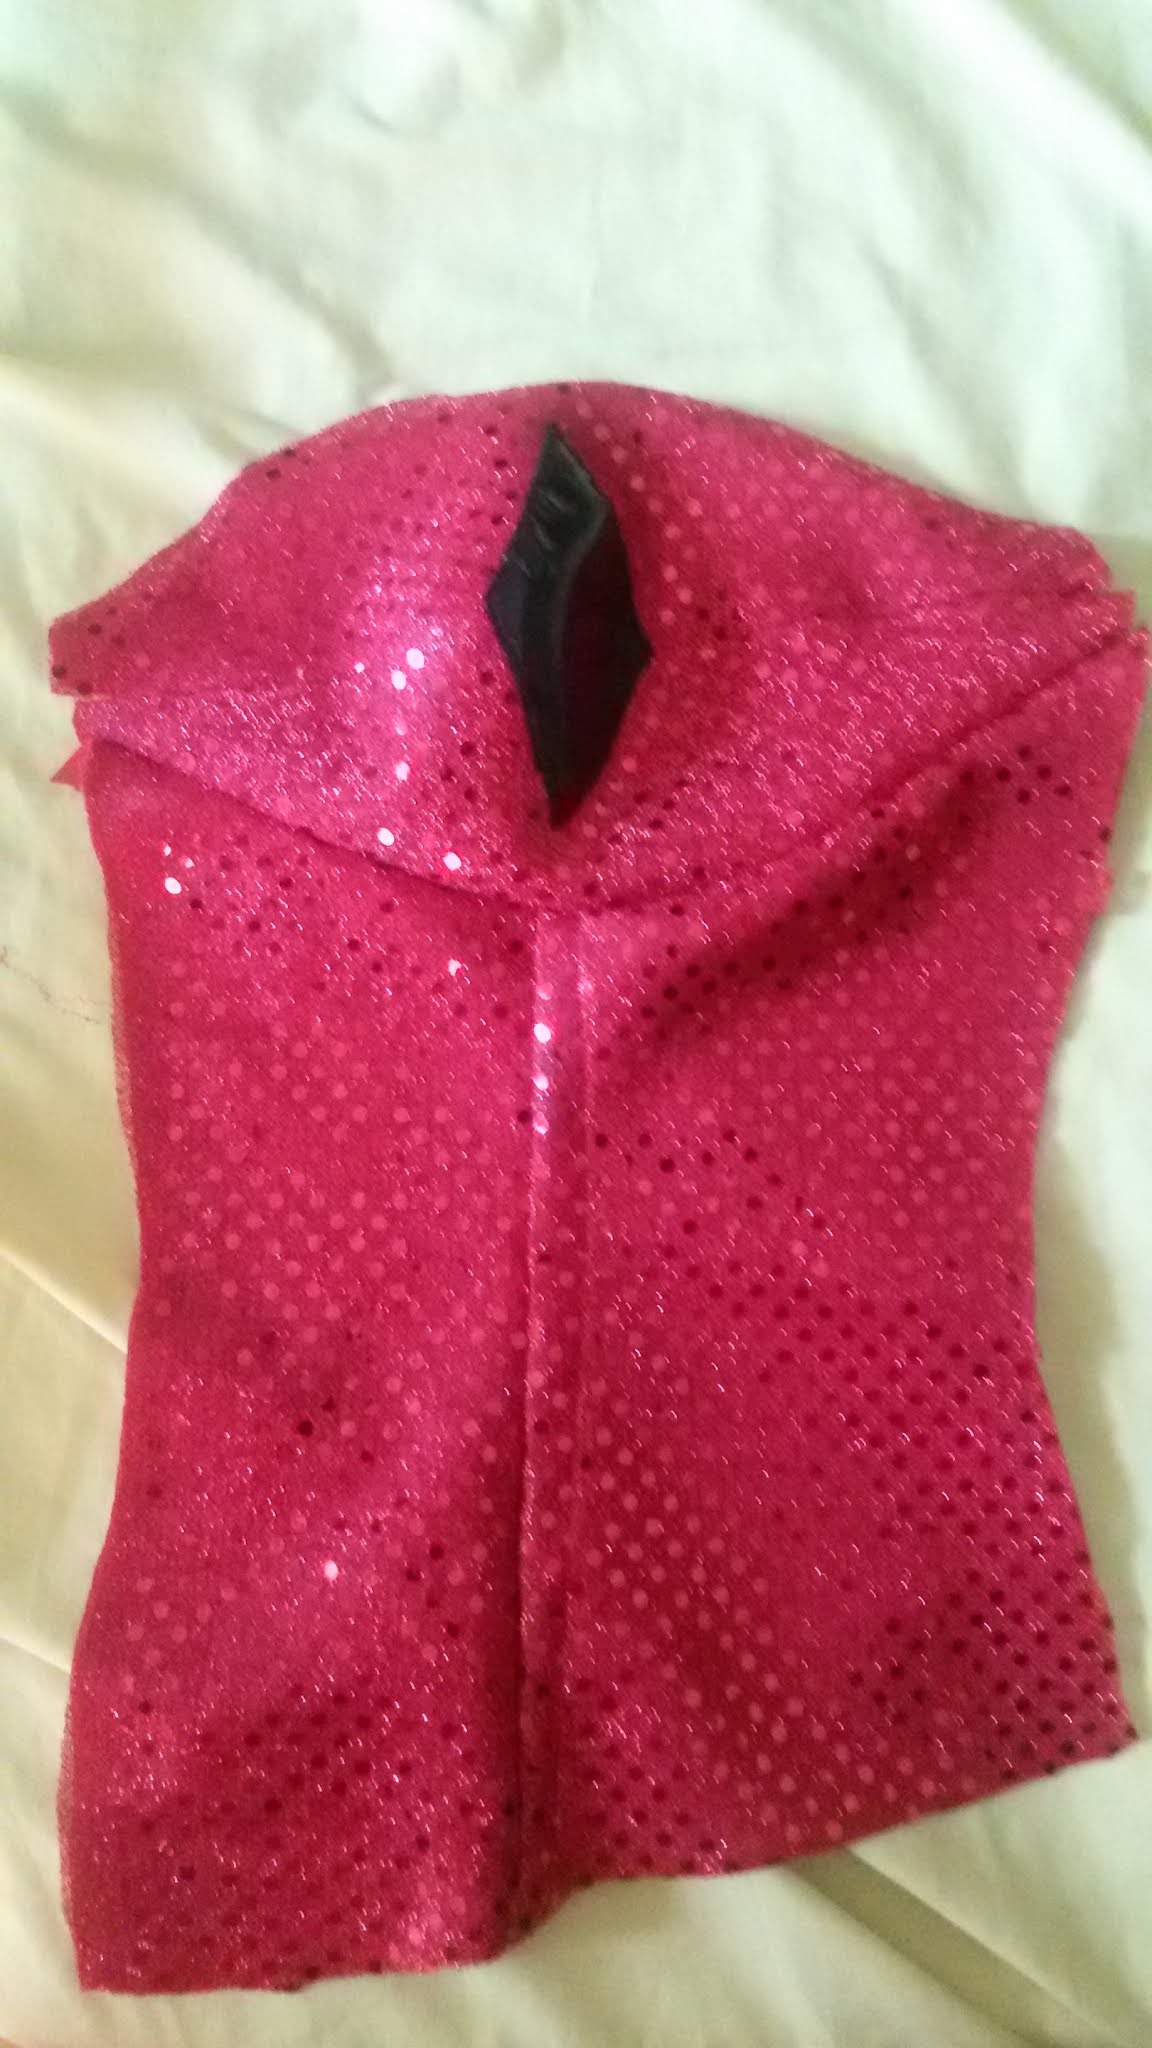
This project was partly an effort to use up extra fabric that I made. I used a sparkly red material that I used for Gazelle's costume, and a black vinyl. 
I used a Burdastyle bustier and hot-pants pattern to make this costume. 
The applique was a little tricky, and this vinyl is a bit annoying to sew: especially when top-stitching. I bought a teflon foot but unfortunatley it isn't compatible with my machine. I get around this by laying tissue paper over the shiny vinyl while I sew.
The bustier looks good, and I like the clean lines, but if I ever remade it, it would be longer. I don't think the cropped appearance suits me.
This is what the finished costume looks like. I don't have any nice photo unfortunately. I wore a labcoat over this because it was a chilly day. I also wore my Suicide Squad wig. 


Saturday, June 1, 2019

Bee and Puppycat Cosplay

So until recently, I've been fostering two very gorgeous cats:
Ginger and Cream are the cutest, and I'm so glad that they've been rehomed together. They went to Germany yesterday.

How does this relate to cosplay? Well, Cream reminds me of a certain character:
He looks a bit like Puppycat from "Bee and Puppycat". Since all he needed was a pink collar, I thought Cream wouldn't mind cosplaying with me (might I add that he got lots of treats and pets for being such a good model boy)
I while ago I painted these enormous galaxy paintings, which were perfect backgrounds for a Bee and Puppycat photoshoot.
The costume was pretty simple to make. I bought a pair of pink trousers and a yellow jumper. I made the bee patch by painting a piece of cloth yellow, then embroidering the bee design on it. 
I cut the trousers to make shorts, and used the leftover cloth to make bows for my shoes, and a pink collar for Cream.
It's hard to see his collar but he is wearing it. It fastens with velcro so it can be removed easily if needed. 


Cream is a very pretty cat, even if he looks very cross eyed in some of these photos!

He behaved so well for these photos, really brought that Puppycat attitude :P


He wasn't interested in strawberries.

Tuesday, July 3, 2018

Alice Royal Suit: Part 2

"How fine you look when dressed in rage" The Cheshire Cat

This is part two of the making of the Royal Suit, which will cover the lower sleeves, the bow, the skull, and the Vorpal Blade.

Lower Sleeves
These are made from black vinyl. I painted red stripes on with red acrylic paint. These "sleeves" were designed to be tight around the upper arm and loose around the wrist, but I added elastic to the wrist portion to create gathering. These are a bit rough and I wish I'd added more crenallations, but they're not too bad.

Bow
Alice's bow isn't a simple rectangle. It seems to be a tube or loop of fabric; it's a bit hard to describe. I used some leftover black satin and a lot of interfacing.
The gold details are more interfaced spandex. I cut out a lot of gold hearts and "ribbons", glued them on, then stitched them down.
I sewed the rectangle into a loop, then gathered the centre.
I covered the middle of the bown with a black rectangle of fabric. 
The bow attaches to the waistband with hairpins! 

The Skull
I originally made a skull for this costume years ago from upholstery foam and paper-mache. It was pretty rough and not very accurate.
I added details on to the basic skull using paper clay.
Once the clay dried, I sanded it down to make it a little smoother.
I painted the skull white, added details with grey and black, got annoyed at how dark it was and added more white, and finally got a reasonable-looking skull. 
Here's the final skull. It attached to the bow with a large safety pin.  

Vorpal Blade
 "The Vorpal Blade is swift and keen, and always ready for service." The Cheshire Cat

I based the Vorpal Blade on this tutorial: https://www.youtube.com/watch?v=KckAVEnPXBU&t=1s 

I used foam mats and a wooden dowel (from an old coat hanger)
 I used a template I found here: https://www.red-lilly.com/en/props/alice-liddells-vorpal-blade/ and cut out the pieces. 
 I forgot to photograph the next steps, but I used paper clay to smooth out the blade and to create the shape of the handle. After a lot of sanding I managed to make the knife fairly smooth, but since I don't have a dremel the knife is a little bit rough in places.
 I used 3D paint (puffy paint?) to add details to the hilt. I used a craft knife to cut the details on to the blade, and used heat to expand the cut, creating an engraved look.
I spray-painted the whole knife black, then painted the hilt gold, and the blade silver. I weathered the handle with brown/black acrylics, and the blade with watered-down black paint. 

Monday, June 4, 2018

Alice: Royal Suit: Part 1

"Is it mad to pray for better hallucinations?"

I have been wanting to making Alice's Royal Suit from "Alice: Madness Returns" for the longest time. Probably since the game came out. 

But I never felt confident enough to make this costume until now. This is partly due to the amount of detail involved, but also because for the longest time I couldn't figure out how to make the bodice.
 I finally figured out how to pattern the bodice after I saw this post on tumblr: http://lilu-me.tumblr.com/post/104274407078/process-of-making-my-royal-suite-dress-it-took-me . ParadoxJane's blog was also very helpful: https://paradoxjane.wordpress.com/?s=Alice

I also found some second-hand satin dresses that seemed perfect to reuse as materials for this costume. 
I finally got the urge to make this costume a few weeks ago. I managed to finish the dress, and start making the apron. 

The Mockup
The mockup (which is also the lining) is made from a poly-cotton pillowcase. I used a basic bodice pattern from Burda, then drew on the seam lines for the black and red pieces. I transferred these lines to paper and made pattern pieces. 

The Dress

I cut out the red and black pieces. Unfortunatley I didn't have quite enough red material, so I piece some of the sections of the bodice. I stitched the red and black pieces together to form the basic bodice.

Once the bodice pieces were sewn together, I started planning the applique. This involved maths and placing bits of paper around until they looked good, so I'm not going to go into much detail about it. 
The appliques are made from interfacing spandex. I had a lot of gold spandex for a costume that I never ended up making, so I iron the interfacing on to it, and cut out the appliques. I used fabric glue to attach them initially, then I stitched them on by machine.
When the gold appliques were sewn on, I started adding trim. This costume requires a lot of trim. This is gold trim almost everywhere, and a surprising amount of white trim on the bodice too. 

I used a white loop trim and a gold ric rac. The bodice took up a huge amount of trim; I actually had to buy more white trim because I was 20cm short!

To make the skirt portion of the dress, I was lucky with the red dress that I'd bought. The skirt had enough volume that I was happy to use it for the Royal Suit. I added a panel of black fabric to it to get the correct colour.
 The black panel is copies from a red panel that I had cut off the skirt before. The gold appliques are also gold spandex. I used gold ric rac to form the stripes.  
I also added trim to the skirt. The trim is made from gold piping, white ribbon, and black ribbon. This trim was really annoying to sew on, especially the piping, and involved a lot of pins and fabric glue. The good thing about this trim is that it makes the hem of the dress stiff and gives it a nice shape. 

 Then it was time to sew the skirt to the bodice. I messed this up the first time because I put the gathers in the wrong place, and the front was too bulky. I had to unpick the stitches and regathered the skirt to make it more flattering. 

 I also made a collar for the dress. The artbook shows Alice wearing a ruff, but in the game the dress has a simple collar. I used another pattern from Burda to make the collar. I used gold piping on the edges instead of sewing on trim, because I thought the thinner lines might look better. 
 I also had a chance to make Alice's necklace. The Omega is made from polymer clay. I painted the clay first with acrylic, then with spray paint. I used to jump ring to attach it to a chain necklace. 

 Sleeves:
I followed this tutorial to make the sleeves: http://www.craftinessisnotoptional.com/2010/11/snow-white-sleeves-tutorial.html
I used a pattern for a slightly puffed sleeve, but instead of exactly following the tutorial. I added diamond shaped pieces. The resulting sleeve was a bit floppy, so once the bodice was lined I ended up stuffing the sleeves with tulle to add volume. 
The sleeve bands are just rectangles of satin with some interfacing iron on. The gold hearts were cut from spandex and glued on. I did try to sew them on but they looked terrible. The fabric glue is not terribly secure, so I might give in and use hot glue to properly attach the hearts. The gold stripes are made from piping. I had a huge bag of gold piping from when I first started cosplay and tried (and failed) to make an Ouran blazer (we thought gold piping would look fancier). 

Lining:
I made a lining for the bodice and sleeves. I sewed it into the dress by hand, using small stitches and trying to keep everything neat. 

Once the zip was sewn on and the lining was ready, the dress was basically done!