Showing posts with label fashion. Show all posts

Sunday, January 2, 2022

Black and White Stripes: Part 2

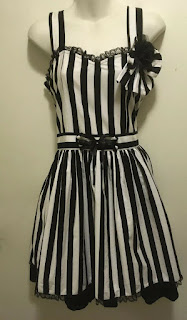
 I made a few alterations to my striped dress. I added an extra panel to the back bodice, and added shirring. This shirring is quite basic: I didn't want to use elastic thread or make casings, so I just stretched out elastic and sewed it on with a zigzag stitch. It's not as neat as the other methods, but when the elastic wears out, it will be much easier to replace. I had to adjust the skirt and remove some of the gathers in order for the skirt and back panel to be the same size.

There's also lace sewn to the neckline and the black ruffles.

I added a belt. This is made from scrap material. The front is interfaced, and the back is just a single layer of fabric with hemmed edges. There's a little bit of black lace in there too. It ties at the back.


Made a little bow to go with my dress. I used scraps and some interfacing. There's a safety pin sewn on to the back.


Saturday, January 1, 2022

Black and white stripes: Part 1

 My last sewing project of 2021 was something I wanted to make for a while: a black and white striped dress. My hair is currently bright green, so the chance to look like Beetlejuice was to good to miss. Of course, I decided to sew it in less than 24 hours, hours before the small celebration we held. 
My inspiration is the BtSSB's Kuranosuke Stripe JSK. I saw this dress years ago on F Yeah Lolita's blog, and had always liked it (this original post about the dress is here http://www.fyeahlolita.com/2010/12/btssbs-kuranosuke-stripe-jsk.html ). The actual JSK is out of my budget, and I don't really wear lolita fashion in any case, but I liked the basic idea.

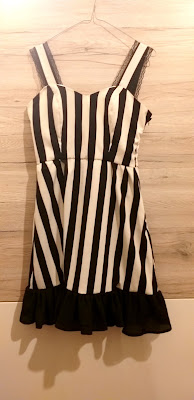
I bought these two dresses on facebook marketplace to use to sew this dress. As I had limited time, I simplified the design somewhat. The striped dress forms the main part of the dress.
I used this black dress too. I removed the bottom ruffle to use on the striped dress. What remained makes a nice blouse. 

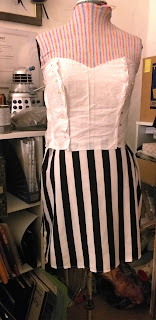
I used a Burdastyle bodice pattern. I need to resize this pattern because it was very tight. I cut the lining from white cotton. After taking the striped dress to pieces, I had to take some time to place the pattern pieces to make sure that the stripes would line up properly when I sewed it. It was worth taking this extra time on this part of the project, because I really like how to stripes on the bodice look. 


I cut the ruffle from the black dress, then cut it until it was the right width and length. I had to measure multiple times to make sure that theskirt would not be too long, as I wanted it to be just above the knee. I gathered the black fabric into a ruffle, then pinned it to the dress. It was tricky to pin the ruffle on, but once it was n place I sewed it on with a straight stitch. 

I made a lining layer for the skirt from some white acetate. It's not the prettiest but since it's hidden under the skirt, I don't mind too much. I match up the stripes on the front of the skirt and bodice, then gathered the rest of the skirt to fit the bodice. I also added an invisible zip to the side seam. 
I made the straps from leftover striped material, and lining them with black cotton. Rather than top-stitching the black lace on, I sewed it between the striped material and the lining. 

I handsewed the bodice lining closed at the waist and along the zip, and the dress was done. 

The dress looks lovely. It will need altering, because the bodice is really tight. The plan is to add a panel of shirring to the back. I'm also thinking of adding the black bustled panel to the skirt. The skirt isn't full enough to be proper lolita, but it would be nice to add a little more volume. 


Sunday, April 21, 2019

Easter Sewing Projects

Long time no see, eh?
Vet school means very little time for sewing and cosplay, but I did manage a few projects during the Easter holidays.

T-shirt reconstruction:

I altered my Deadpool shirt fron Qwertee, following an old Threadbanger tutorial that Corinne did years ago. 


I followed another one of Corinne's t-shirt reconstruction tutorials and altered this goat t-shirt: it was an XL before.
 I also altered these black t-shirts to give them a cold-shoulder design. I made patches based on the sigils from Game of Thrones, and sewed those on for decoration. 

I made a little waist pouch for days when I want to wear leggings or skirts without pockets. The pouch is made from fake suede (originally part of a curtain) and closes with a zip. There's a plastic buckle at the back, and I used webbing for the belt. 


 Finally, I altered a tartan shirt dress that I had. It was a bit tight and I didn't wear it that often. I cut it apart and made a new bodice, using a bit of black spandex to make extra bodice panels to improve the fit. 

 The original dress had a nicely flared skirt, which I kept, but I added pockets, and some black lace to the hem. The lace originally came from an old shrug: I had picked all the lace trim off to use for another project. I used up all of the lace, and had just enough for the hem.

 I used grommet tape for the straps (this is the last of the grommet tape that I used to make my Violet Baudelaire costume!) and an old curtain ring for the back of the dress.


Thursday, August 16, 2018

A dress made from curtains


I was invited to a small photoshoot, and needed a white dress to wear. I didn't want to buy one, and I need to use up my fabric stash . . .so to kill two birds with one stone, I made a white dress using cloth that I already had. This dress is made from old curtains and old sheets. The bodice and lining are made from white cotton. There's a poly-organza overlay on the bodice that came from an old curtain. The skirt is made from a very thin white cotton that was originally a curtain. I was trying to make a gothic style dress, but I think it might need more embellishments.
If I make a similar dress in the future, I'll make sure that the bodice fits me better. It was slightly too large, so that straps and back gaped a little. I'd also like to make the seams at the neckline neater; I think I need a facing for this style. I am quite happy with the gathered skirt though, and I like how it looks with the belt on top. 

Constellation Dress

I've seen a lot of galaxy and constellation-print clothing over the past five to ten years.
 I really love this trend, and have been wanting to make something inspired by it. Unfortunatley it's difficult to find galaxy print locally, and buying it online tends to be very expensive. Last year I found this fabric by Timeless Treasures (on ebay):
 It's a beautiful deep blue with a pale, glow-in-the-dark constellation pattern. It was quite expensive, but I saved up and bought three yards, plus some scrap pieces from another seller. It arrived in a few weeks, and promptly sat in my room for about a year. 

Eventually  I got the momentum and motivation to make a dress from it. I made some designs last year, inspired by Alexander McQueen and Haenuli.

The Inspiration:

My sketches:
I went with a combination of the two designs, partly because I couldn't figure out how to construct a bodice similar to that of the McQueen dress.

The Pattern:
The bodice pattern is an altered Burdastyle one. I left the front the same, then changed the back significantly. The original idea was to have a shirred back, but I struggled with it so much that in the end I dropped that element. 
I drafted the skirt pattern myself. I only had 3 yards of material, which wasn't enough for a very full skirt. I made this into more of a panel skirt than a circle skirt.
I also made a pocket pattern. I love a dress with pockets, and wanted to include some in this design. 

Sewing the Dress:
To start, I made a mockup from cotton. I checked the fit, then cut out the lining. The lining is an old blue sheet and it's the perfect colour for this dress. 

I didn't take enough photographs while I was working, but I did take a few. I cut out the main fabric. I pinned it on my dress for to see how it would look. I shortened the bodice slightly, then started sewing all the seam and darts of the bodice.

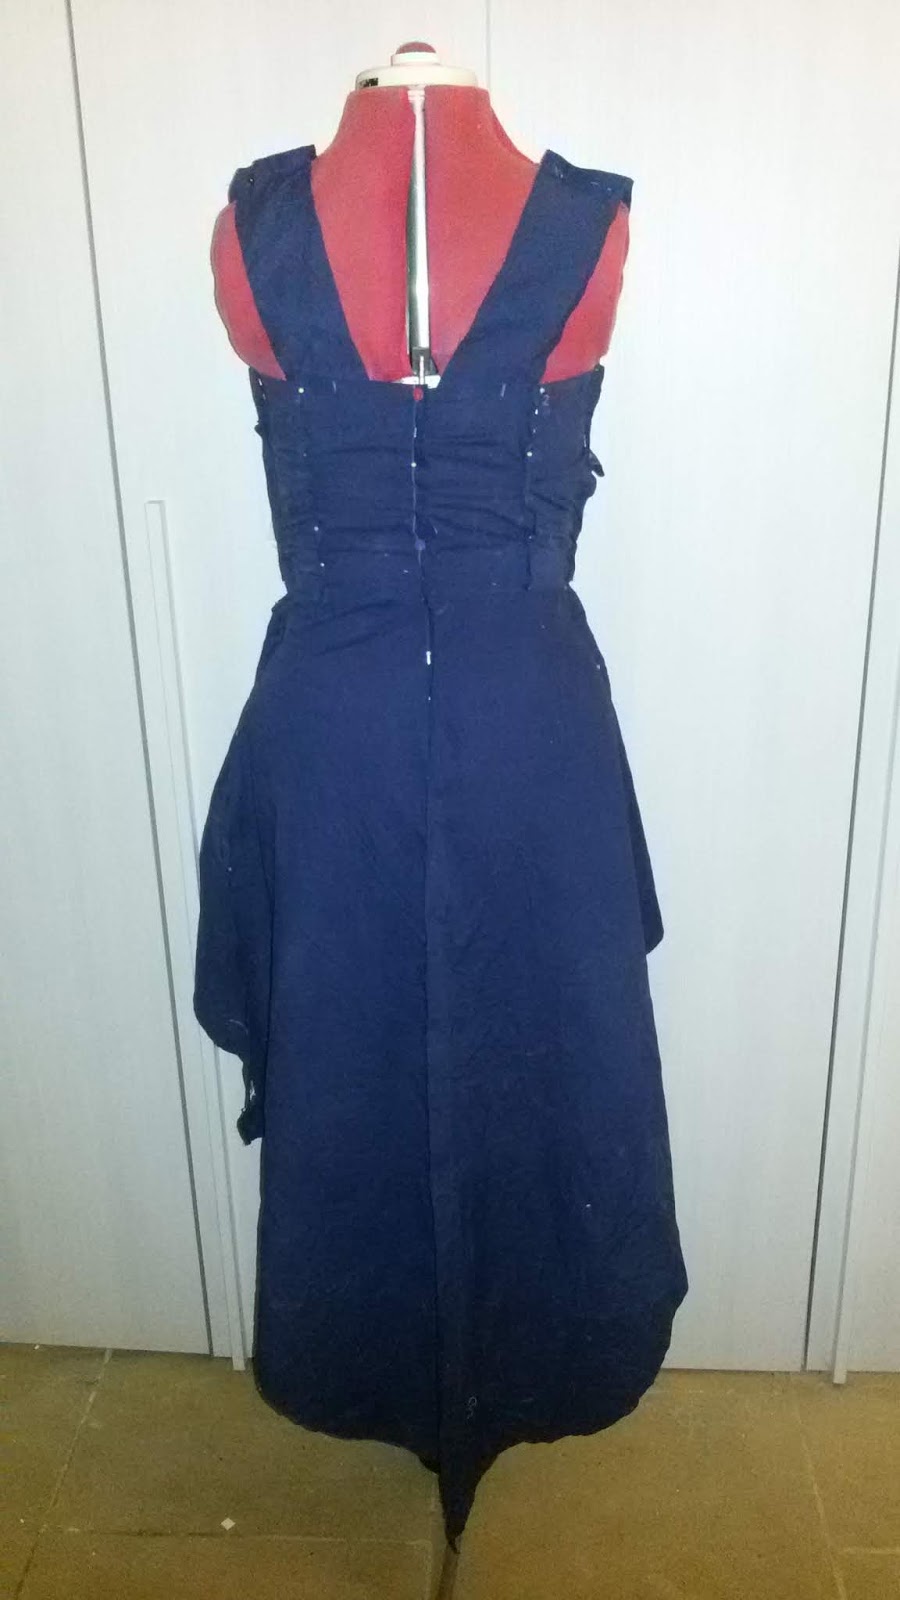
I lined the bodice first. I was following Burda's instructions, and they recommended a method that I'd never used before. You sew the lining and main fabric at the neck and arm-scye (the shoulder seam is not stitched at this point), clip your seams, then turn it right side out and press everything. You then sew your shoulder seam. This isn't the best explanation of the technique, but the end result was very clean and crisp. I then attached the skirt lining to the bodice lining, and the main skirt to the main bodice.  
 After I added an invisible zip, I then hemmed the dress. I used very narrow horsehair braid to hem the skirt, using the sewing machine to initially sew on the braid, then stitching by hand to do a blind-hem stitch.