 Hello, Amanda. You don't know me but I know you. I want to play a game. Here's what happens if you lose. The device you're wearing is hooked into your upper and lower jaws. When the timer at the back goes off, your mouth will be permanently ripped open. Think of it like a reverse bear trap. Here, I'll show you. There is only one key to open the device. It's in the stomach of your dead cellmate. Look around, Amanda; know that I'm not lying. Better hurry up. Live or die, make your choice.
I really enjoyed the first three Saw films. They could be a little gory at times, but often the exact details were left to your imagination. I also liked the story and various twisted plots and subplots in the film. I think that Welshy's Saw Retrospective sums up exactly what I think about the series.
I wanted to do a skit for Malta Comic Con 2013, but didn't have a group. As I considered what character and what skit I could do by myself, it occurred to me that it would be quite simple to do a skit inspired by Amanda's game in 'Saw'. Amanda's costume contains four pieces: purple top, black skirt, fishnet tights, and the Reverse Bear Trap.
Top, skirt and tights? Easy. Reverse Bear Trap . . . Well . . .
Jeez this is complex. There is so much detail on this, and I've never ever made a prop like this before. Due to lack of time and experience, I decided to simplify this prop by just getting the basic look right, but not adding every single screw, nut and gear.
The first step was making a frame for the trap. One strap goes around the head, just under the nose. The other strap goes over the top of the head.
I left the back open initially, then changed my mind later and closed the back.
This big cardboard rectangle is the backing for the muzzle of the trap. All of these cardboard pieces were hotglued together.
These funny crescent-shaped pieces of cardboard are what will become the muzzle of the trap. The cardboard is double layered for strength.
This is the lower jaw piece of the muzzle. It has cardboard dividers, and a scalloped edge. The cardboard divides actually slope up towards the front. Making the muzzle pieces was tedious, because I had to reposition and recut pieces of cardboard many times to make it look right. I really recommend using hot glue for this: it holds everything in place, and dries quickly.
Here's the muzzle and the frame of the trap.
This is all held together temporarily with tape, just to see how it looked.
And here are all the pieces after paper mache. I paper-mached the pieces separately because it would have been very difficult to apply paper mache when the trap was assembled, due to all the nook and crannies.
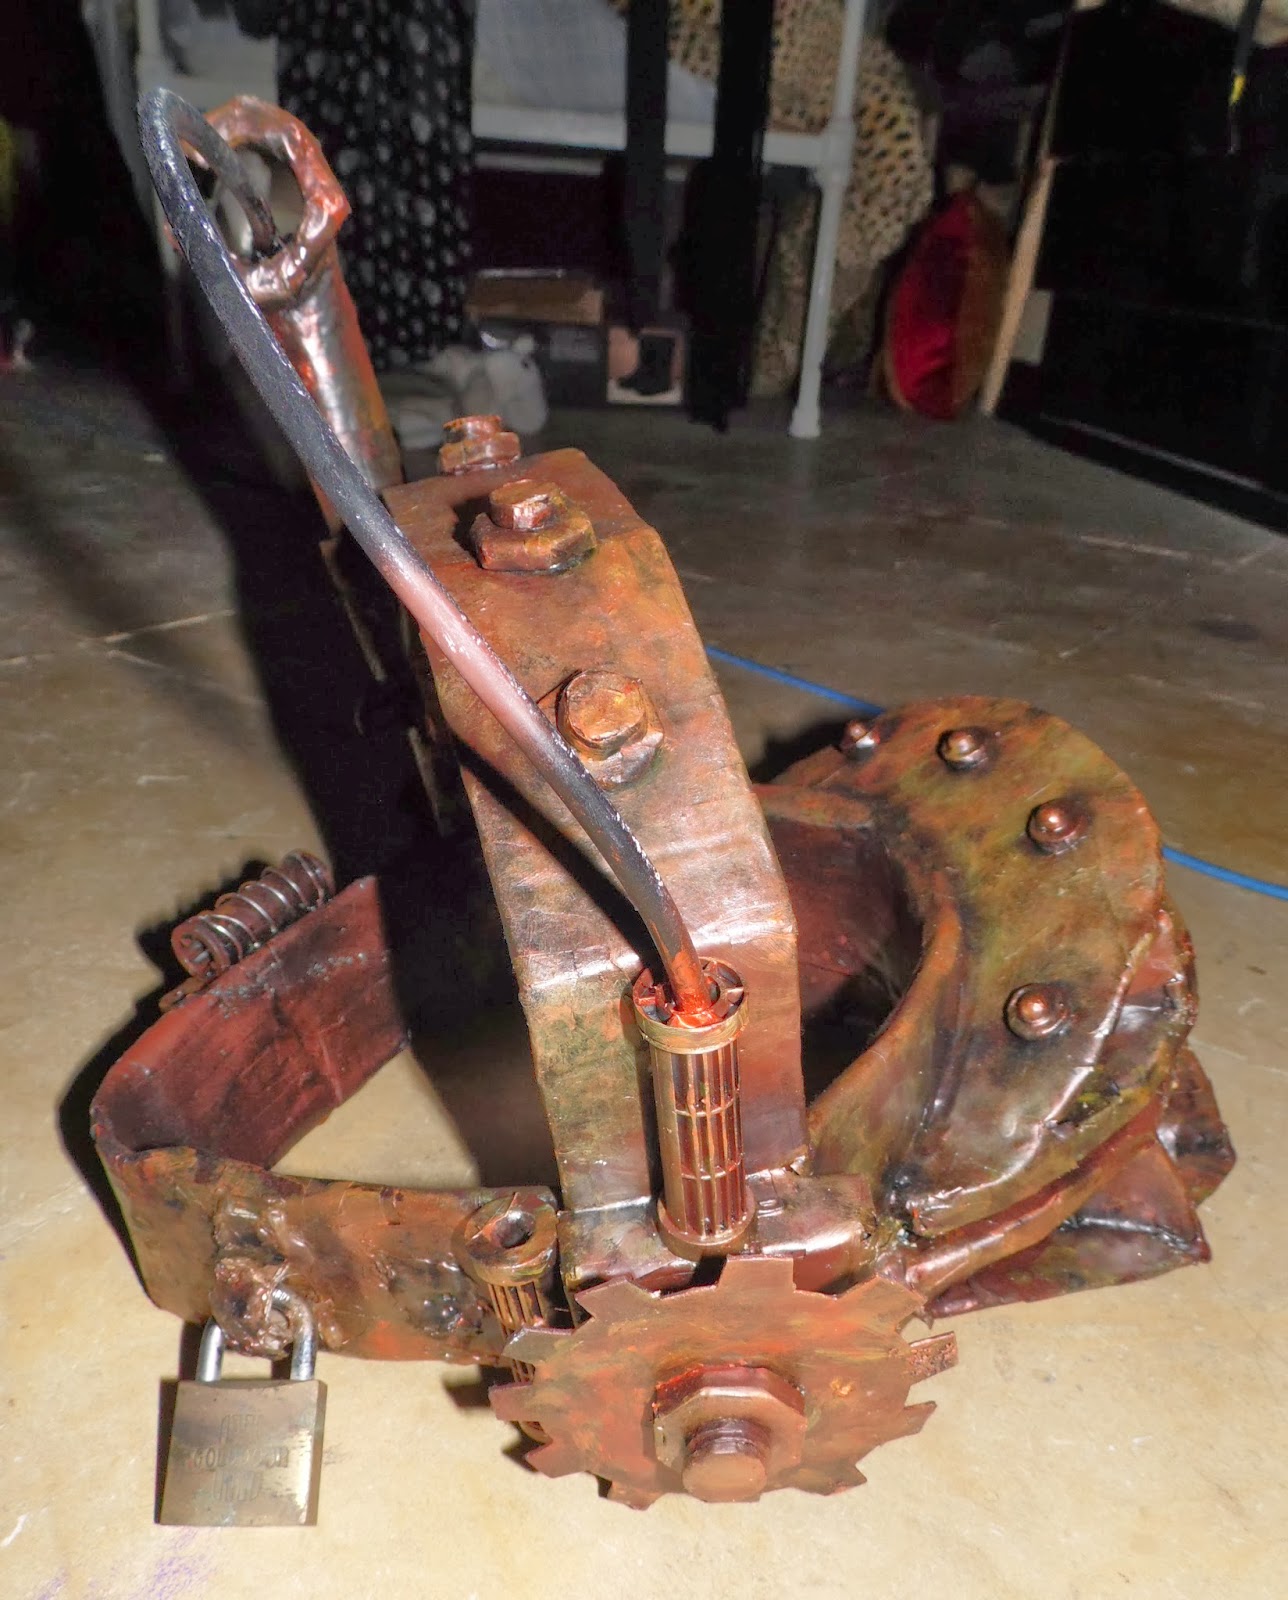
Once everything was dried, I hot glued all the pieces together. Lots of hot glue. Aside from the muzzle, I added the 'tower pipe', and a random box at the back as the timer. I also added bits of foam and cardboard in the place of nuts and screws. The bolts in the muzzle are actually pieces of a drinking straw.
Lastly, the side gears, and the weird pipe over the top of the trap. The pipe is just a piece of irrigation pipe that we use to water the garden (incidentally, cats LOVE this stuff. They all seem to think it's some kind of snake that they have to kill)
The gears are made of builder's card, and stand out slightly from the main frame of the trap. I glued them to little cubes of card/styrofoam to achieve this effect. There are also empty plastic thread reels (spools? What's the correct word for those plastic things that sewing thread is wound round?)
So here is the unpainted trap, in all its glory. Next step is painting it.



 Hello, Amanda. You don't know me but I know you. I want to play a game. Here's what happens if you lose. The device you're wearing is hooked into your upper and lower jaws. When the timer at the back goes off, your mouth will be permanently ripped open. Think of it like a reverse bear trap. Here, I'll show you. There is only one key to open the device. It's in the stomach of your dead cellmate. Look around, Amanda; know that I'm not lying. Better hurry up. Live or die, make your choice.


