Showing posts with label costume. Show all posts

Tuesday, March 30, 2021

New 52 Harley Quinn

It seems that I also forgot to upload the process of making New 52 Harley Quinn. 
I think that I made this in 2016 and wore it to Mondocon 2016.   
This project was partly an effort to use up extra fabric that I made. I used a sparkly red material that I used for Gazelle's costume, and a black vinyl. 
I used a Burdastyle bustier and hot-pants pattern to make this costume. 
The applique was a little tricky, and this vinyl is a bit annoying to sew: especially when top-stitching. I bought a teflon foot but unfortunatley it isn't compatible with my machine. I get around this by laying tissue paper over the shiny vinyl while I sew.
The bustier looks good, and I like the clean lines, but if I ever remade it, it would be longer. I don't think the cropped appearance suits me.
This is what the finished costume looks like. I don't have any nice photo unfortunately. I wore a labcoat over this because it was a chilly day. I also wore my Suicide Squad wig. 


Quick and Easy Harley Quinn Costume

I was looking through my old harley Quinn costumes:


 And i realised that I forgot to write about this one


I put this costume together very quickly for Halloween, even though we couldn't go out to celebrate. I even dyed my hair for fun (the vet on shift was very nice and said she liked my hair). 
This costume is inspired by one of the character designs from Injustice.
I took the elements that I liked (belt, crop top, trousers) and based my costume on those. 

This is a simple costume. The only thing I needed was fabric paint (I used acrylic paint mixed with fabric medium). I had a white crop top, and drew on the design with pencil. I then used a small brush to paint in the design. It's better to go slowly, filling in the edges carefully. 

The trousers started like as a pair of red slacks. I pinned and sewed them to make the legs tighter. I also slathered them in paint. I painted on the diamond designs, and also added paint to the red leg for more texture. 

The trousers are very stiff as a result, but do have a nice texture. They also have pockets!

My flatmate's dog offered to be Bruce the Hyena <3

The rest of the costume is things that I already had, such as the boots, studded belt, and jewellery. 


I had already bleached and toned my hair, and it was easy to dye the ends. I diluted blue and pink dye with a lot of white conditioner, then applied to the ends of the ponytails. 


Monday, June 4, 2018

Alice: Royal Suit: Part 1

"Is it mad to pray for better hallucinations?"

I have been wanting to making Alice's Royal Suit from "Alice: Madness Returns" for the longest time. Probably since the game came out. 

But I never felt confident enough to make this costume until now. This is partly due to the amount of detail involved, but also because for the longest time I couldn't figure out how to make the bodice.
 I finally figured out how to pattern the bodice after I saw this post on tumblr: http://lilu-me.tumblr.com/post/104274407078/process-of-making-my-royal-suite-dress-it-took-me . ParadoxJane's blog was also very helpful: https://paradoxjane.wordpress.com/?s=Alice

I also found some second-hand satin dresses that seemed perfect to reuse as materials for this costume. 
I finally got the urge to make this costume a few weeks ago. I managed to finish the dress, and start making the apron. 

The Mockup
The mockup (which is also the lining) is made from a poly-cotton pillowcase. I used a basic bodice pattern from Burda, then drew on the seam lines for the black and red pieces. I transferred these lines to paper and made pattern pieces. 

The Dress

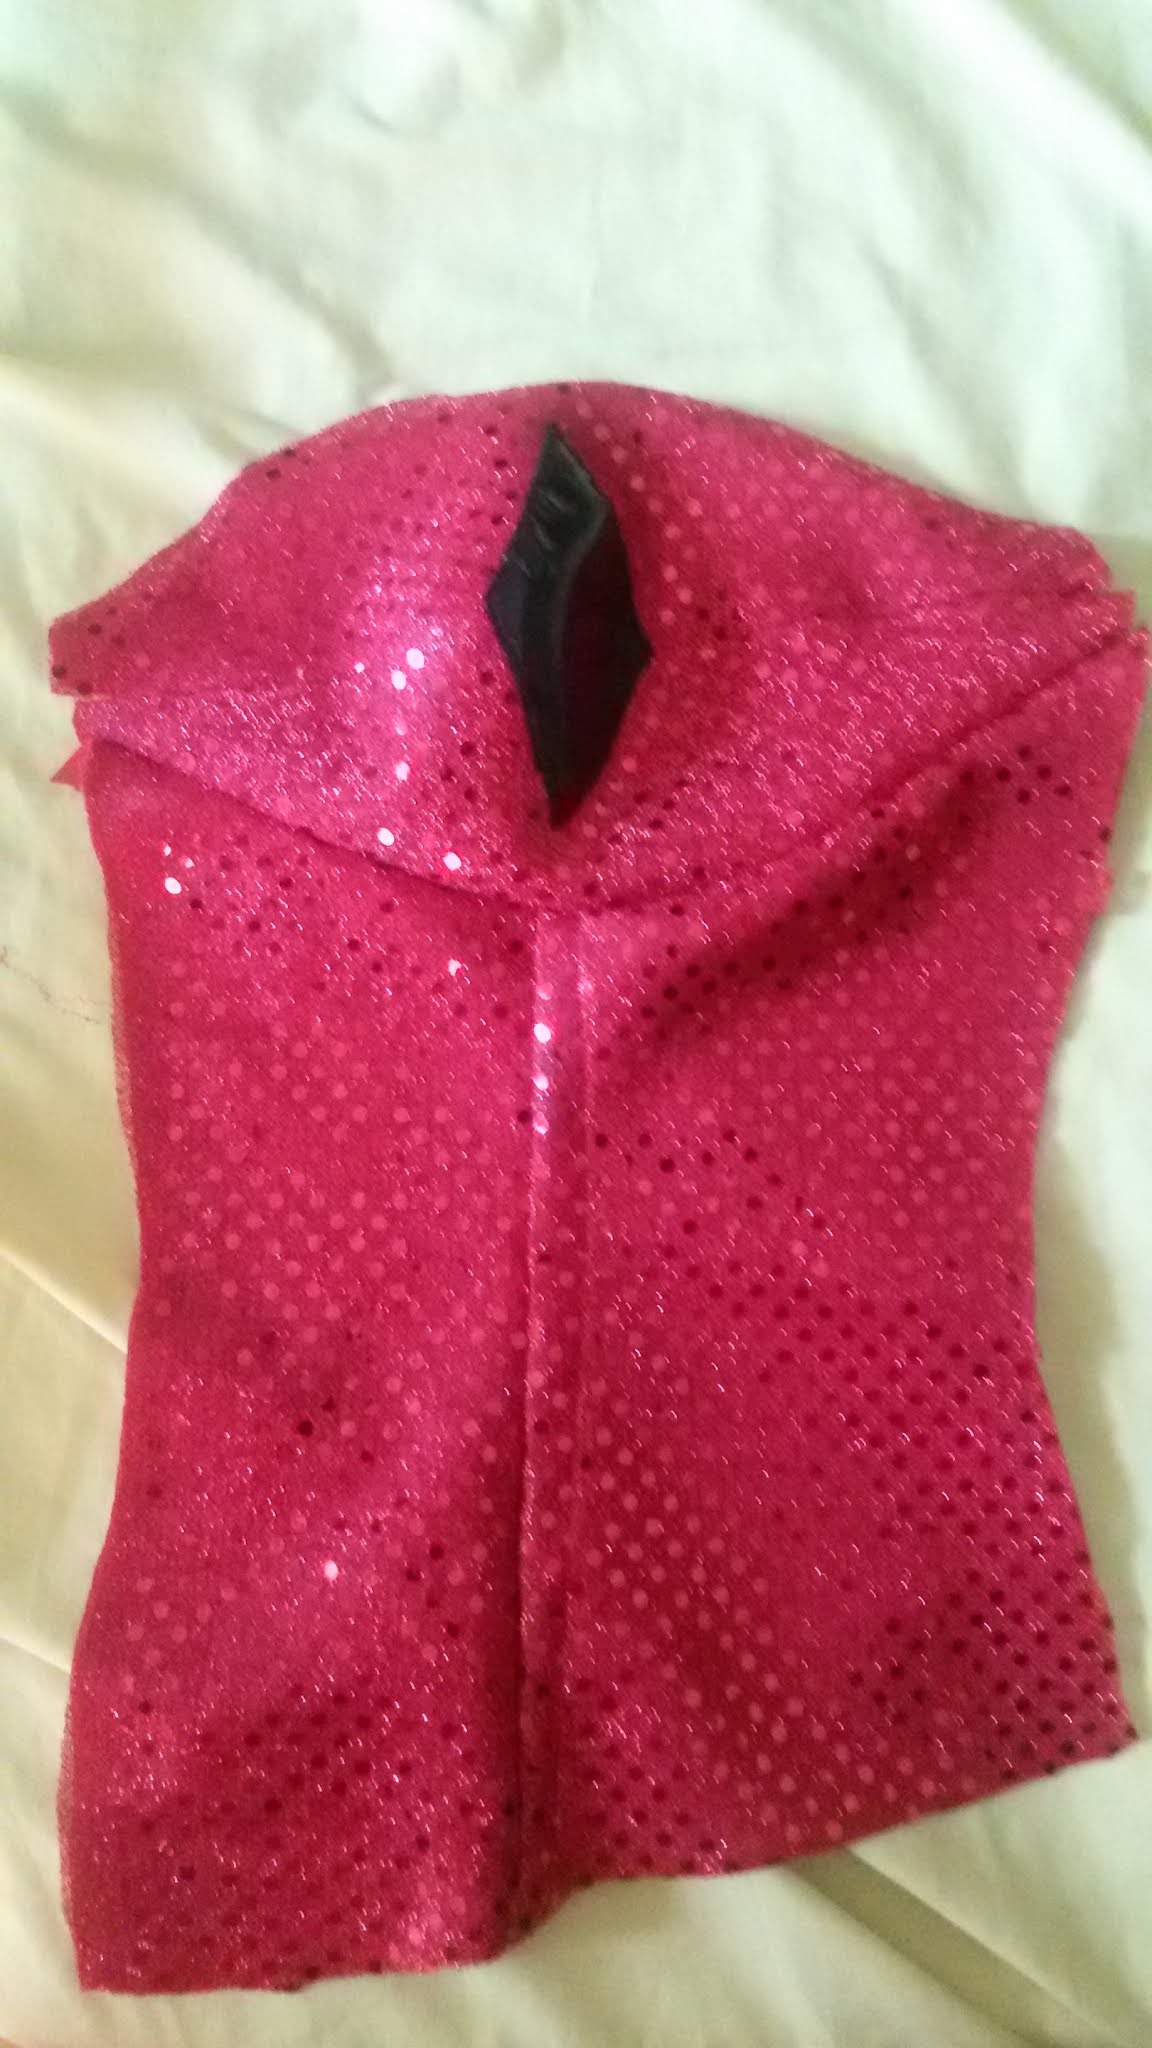
I cut out the red and black pieces. Unfortunatley I didn't have quite enough red material, so I piece some of the sections of the bodice. I stitched the red and black pieces together to form the basic bodice.

Once the bodice pieces were sewn together, I started planning the applique. This involved maths and placing bits of paper around until they looked good, so I'm not going to go into much detail about it. 
The appliques are made from interfacing spandex. I had a lot of gold spandex for a costume that I never ended up making, so I iron the interfacing on to it, and cut out the appliques. I used fabric glue to attach them initially, then I stitched them on by machine.
When the gold appliques were sewn on, I started adding trim. This costume requires a lot of trim. This is gold trim almost everywhere, and a surprising amount of white trim on the bodice too. 

I used a white loop trim and a gold ric rac. The bodice took up a huge amount of trim; I actually had to buy more white trim because I was 20cm short!

To make the skirt portion of the dress, I was lucky with the red dress that I'd bought. The skirt had enough volume that I was happy to use it for the Royal Suit. I added a panel of black fabric to it to get the correct colour.
 The black panel is copies from a red panel that I had cut off the skirt before. The gold appliques are also gold spandex. I used gold ric rac to form the stripes.  
I also added trim to the skirt. The trim is made from gold piping, white ribbon, and black ribbon. This trim was really annoying to sew on, especially the piping, and involved a lot of pins and fabric glue. The good thing about this trim is that it makes the hem of the dress stiff and gives it a nice shape. 

 Then it was time to sew the skirt to the bodice. I messed this up the first time because I put the gathers in the wrong place, and the front was too bulky. I had to unpick the stitches and regathered the skirt to make it more flattering. 

 I also made a collar for the dress. The artbook shows Alice wearing a ruff, but in the game the dress has a simple collar. I used another pattern from Burda to make the collar. I used gold piping on the edges instead of sewing on trim, because I thought the thinner lines might look better. 
 I also had a chance to make Alice's necklace. The Omega is made from polymer clay. I painted the clay first with acrylic, then with spray paint. I used to jump ring to attach it to a chain necklace. 

 Sleeves:
I followed this tutorial to make the sleeves: http://www.craftinessisnotoptional.com/2010/11/snow-white-sleeves-tutorial.html
I used a pattern for a slightly puffed sleeve, but instead of exactly following the tutorial. I added diamond shaped pieces. The resulting sleeve was a bit floppy, so once the bodice was lined I ended up stuffing the sleeves with tulle to add volume. 
The sleeve bands are just rectangles of satin with some interfacing iron on. The gold hearts were cut from spandex and glued on. I did try to sew them on but they looked terrible. The fabric glue is not terribly secure, so I might give in and use hot glue to properly attach the hearts. The gold stripes are made from piping. I had a huge bag of gold piping from when I first started cosplay and tried (and failed) to make an Ouran blazer (we thought gold piping would look fancier). 

Lining:
I made a lining for the bodice and sleeves. I sewed it into the dress by hand, using small stitches and trying to keep everything neat. 

Once the zip was sewn on and the lining was ready, the dress was basically done! 


Thursday, February 15, 2018

Walkthrough: Nightclub Harley Quinn Dress

I wasn't the biggest fan of "Suicide Squad" but I did like the costumes. I already made Harley's main outfit, but I also like this dress she wears in a flashback scene. The original dress is made of metal mesh, with a black and gold diamond pattern.
Although I quite liked this design, I wanted to try something a little different. I decided to make a dress based on this one, but in red and black.
Here's the design I drew up. 

I looked at a LOT of tutorials to make this dress, and I'll provide links to them here, as they were incredibly useful.

METAL MESH 

 SEQUINS 

OTHER

I followed TEoELLE and Arlena Fae's advice for drafting a pattern. I took the measurement  of the widest part of my hips, the bust measurement (with allowance for the fabric to drape), and the distance from top edge to bottom edge of the dress on the back and front.
I used lining fabric to make this mockup: I eventually used it to line the real dress. I checked the fit on myself and my dress form. The dress form was useful for playing around with the draping, but trying it on gave me a better idea of the actual fit and whether I could move in it.

Once I was happy with the lining, I had to do some maths to calculate the size of the diamonds, and how many I would need. The basic mathematics is as follows:
Height of the dress / number of diamonds
Width of the dress / number of diamonds
You can use these figures to draw a grid and work out the size of your diamonds. My diamonds were approximatley 17cm by 11cm. I made a template and added seam allowance (about 1cm)
Then I had to cut out the diamonds. A LOT of diamonds. I had half a yard each of black and red sequin material, which was just enough for all these diamonds. 
WARNING: be careful which grain you cut on. I cut my diamonds on the wrong grain, and the dress shrank when I sewed them all together. It fit fine width-wise, but was much too short. I was able to solve this by adding another row of black diamonds at the bottom, but it was a little annoying.
Once all the diamonds were cut out, I sewed them together in diagonal strips: Arlena Fae and TEoELLE demonstrate this in their tutorials. Then I sewed all the strips together. When I realised that my dress was too short, it was a bit difficult to sew on the extra black diamonds neatly. I have areas where the diamonds don't line up perfectly, but I have some spare sequins which I can sew on to disguise this.
Here's the dress with an extra row of black diamonds. I pinned on some black fringe to see how it would look. Some cosplayers just use sequin material and cut it into strips, but I don't think my material would hold up to this. It would probably shed sequins all over the place. 
I bought 2m of fringe, but perhaps I should have bought more.
To be continued . . . 

UPDATE

The Straps
So unfortunatley I forgot to take pictures when I was making the straps, but I can easily describe the process.
I bought some thin black elastic and black sequins, measured the straps to the correct length, then sewed on the sequins by hand. This took a while. I had to keep adjusting the straps' length, so I wish I had waited until later to sew on the sequins. 
Once the straps fitted well, I sewed on jump rings to both the dress and straps, and attached lobster clasps. The other end of the strap was sewn to the metal ring. The metal ring is a curtain ring, as I couldn't find a metal ring in the right size. 
For the chain, I cut pieces of black chain to the correct length. The pieces near the middle are a little shorter, while the pieces on the outside are a bit longer. The chains are attached to the ring with jump rings, and to the dress also with jump rings (the rings are held in place with elastic). 

 The Fringe
I have seen versions of this dress where the makers used sequin material to make the fringe. I didn't want to deal with loose sequins falling off the dress (my room is already covered with sequins from cutting out this dress; every time I think I've cleaned them up I find ten more). 

To sew the fringe on, I turned up the hem and pinned it in place. 

Next I cut a piece of fringe and pinned it to the hem, then sewed it on using a zigzag stitch (I think the particular type of stitch I used is called a lingerie stitch)
There were a few bald spots in the fringe. To fix this, I cut small pieces of fringe and glued them in place with fabric glue (I will sew them in place later). This type of fringe is annoying as it tries to unravel very quickly. 

Improving the fit
The dress was very loose at the back, as you can see in the pictures.
To improve the fit, I took a piece of elastic and pinned each end to the side seam on the inside of the dress. I stretched the elastic as I sewed it on (using a zigzag stitch), clipped the loose threads, and used a permanent marker to colour in the red thread that was visible on the black diamonds. This improved the fit drastically.
I also sewed bra cups into the front of the dress. I cut them off an old bra and pinned them in place while the dress was on the mannequin. I then hand-sewed them on to the dress.
For now I think that the dress is complete. I still need to make some accessories, such as a gun, a wig, and a small handbag to carry my things while I'm at conventions. I'm hoping to wear this to the summer edition of Malta Comic Con 2018.