Showing posts with label skirt. Show all posts

Monday, June 4, 2018

Hipster Ariel

Just a short post about an outfit I made over the past two days. I needed a break from the Royal Suit, and decided to make a summer outfit. I had this beautiful green mermaid fabric, and I wanted to make an Ariel inspired look (my very first cosplay was Ariel, so this is also a nod to that).

I used an existing skirt to create a pattern for this one. I traced the pattern on to the mermaid cloth, cut it out, and sewed the pieces together. I added a waistband, then a zip for closure. Originally I wanted to have pockets, but they gaped open and looked so ugly that I got rid of them. One day I will learn how to make pockets that do not gape open. 

For the top, I was inspired by an Annika Victoria tutorial:

I made from crop top from an old, cut up t-shirt. The resulting top is a bit wonky, but at least it looks nice from the front. 

Wednesday, February 4, 2015

Mockups and Alterations

Remember the aristocrat black dress?
It did not fit very well, nor did it look very nice. So I thought I would separate the skirt and shirt and see if it looked better.

 Here's the shirt on its own. I serged the bottom (I got a secondhand overlock machine and am finding it very useful) and them turned up the hem and sewed it with a straight stitch. Look better to me. Then I cut open a section of the skirt, added a waistband, and sewed in a zip.
Much improved. Sadly it still doesn't suit me much. If I make it shorter it looks nicer, but then it's too short for me. This one will probably be up for sale in my etsy shop.

In other news, I'm making mockups for THIS
 Cos damn it, I want a sparkly super detailed princessy outfit too!
The mockup on the left is based on a Burdastyle regency pattern, the other is a Burdastyle pattern "Danielle", which I have used before. If not for the stripes, I might used the one of the left, but pattern matching the stripes with the princess seam will be difficult. I had to pattern match for my Striped Steampunk dress, and it was a hassle. I think, for my sanity (what's left of it :) ) I'll use the one of the right for the bodice, but incorporate the train of the pattern on the left. 

I'm planning my costumes for Sci Fi Con in July. Female Titan is confirmed, just need to get makeup and repaint the legs. I will probably wear Lady Loki too. 
I want to make Asuka Langley Soryuu, but I think the cotton lycra I order isn't stretch enough. I may need to replace it, and lycra is a bit expensive (maybe it will be cheaper during or after Carnival?). I'm also tempted to do Madoka (Madokami version), Princess Serenity, Queen Isabel (The Fountain, but making it would take AGES and it's JULY, so hot!), Big Sisters (Bioshock 2), or maybe Xena.


Friday, October 24, 2014

Gothic Satin and Velvet Skirt and Bustier

I always wanted to try my hand at a gothic dress. I was partly inspired by doxiequeen1's gothic dress: http://doxiequeen1.wordpress.com/2014/10/09/making-a-glittery-gothic-dress-part-two/ , and I also had some nice fabric I wanted to use. I bought a satin dress from 50c in a charity shop. It had a gorgeous pattern, something like a brocade material would have. I looked on the internet for inspiration, and decided to make a satin skirt, and a satin and velvet bustier. Originally this was going to be a one piece dress, but I thought two pieces would be more versatile. Unfortunately the bodice doesn't fit me very well: it's just a bit too loose; so I'm selling the outfit on etsy: https://www.etsy.com/listing/208400395/black-goth-skirt-and-corset-top?ref=shop_home_active_2 
Here are all the bodice pieces. I used two layers: fashion fabric, and twill as a strength layer. Corset type tops need a strength layer due to the stress of being laced shut. Without the strength layer they can rip. 

The first step was assembling the bodice. This is based on a Burdastyle pattern. I pinned everything together carefully and sewed it. I then added boning channels using scraps of cloth: you can see the channels in the picture on the right.

Once the strength layer was ready, I started on the fashion layer. The central panel is satin with interfacing, and the rest is velvet. I was very lucky because I already had all the fabric that I needed. I had a piece of black velvet left over from Harley Quinn, and it was just big enough for this bodice.
My cat Pearl (it's the name he came with; I wanted to call him Othello but he wasn't interested) came in to help. I try to keep him out of the room when I'm sewing in case he swallows thread or gets pricked by a needle. It's surprisingly common for cats to swallow needles, thread or both.
 The final stage was adding grommets to the back. I use grommet pliers to set them. they're not as good quality as hammered grommets, but they do look nice.
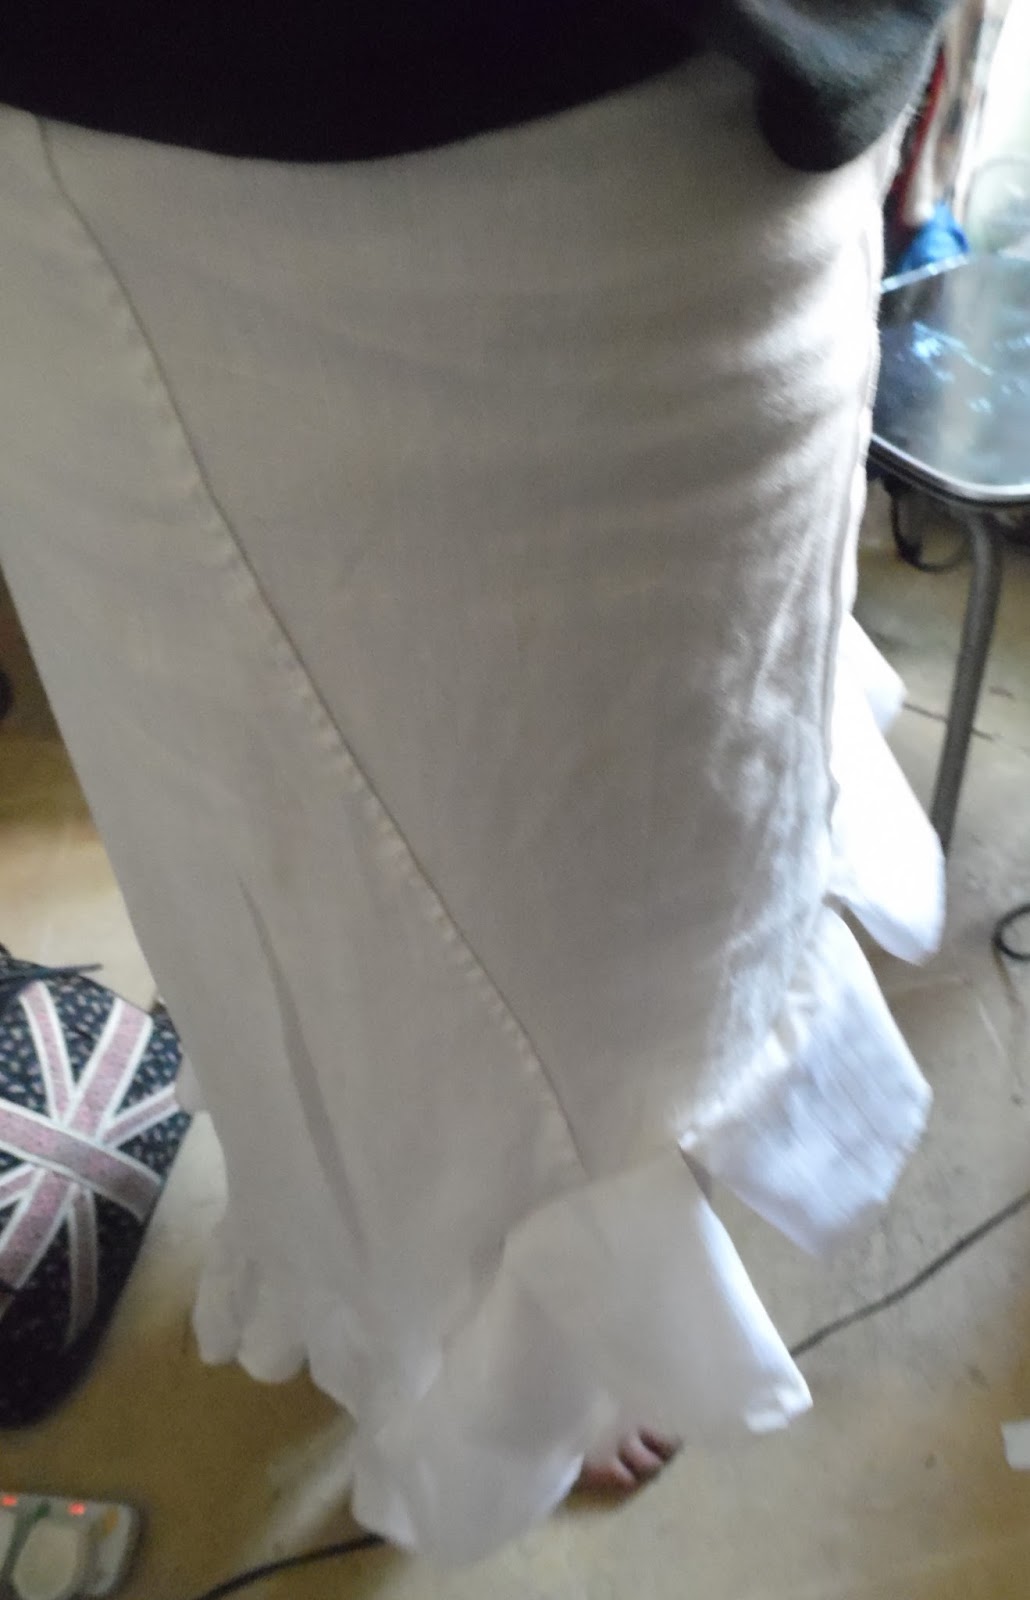
The skirt was a little tricky to make. I didn't have very much fabric to work with. I could have been lazy and made a gathered skirt, but I knew that a circle skirt would have a nice drape. I found this amazing website that helps you calculate the radius of your circle skirt and how much fabric you'll need: http://byhandlondon.com/pages/circle-skirt-app . I drafted a half circle skirt in two pieces. I made the front shorter than the back, added some side gores for volume, and then added the curve in the front.
The rest of the process was quite boring. I sewed everything together and also sewed bias tape along the bottom, then hemmed it. I made a very simple gathered skirt to act as a lining. Finally I added a waistband and zip.  


Sunday, June 22, 2014

Madame Vastra: Part 1: Skirt and Waistcoat

One of my planned cosplays for Expo in October is Madame Vastra from Doctor Who. This costume will be very tricky to make, the makeup trickier still, but I liked her a lot (The Crimson Horror is the best episode of season 7, hands down. The rest of the season is so very "meh"), and want to see if I can pull off the Silurian makeup.

Skirt
 The first step was the skirt, which was a very simple half circle skirt. I just followed an internet tutorial for this, then made some adjustments. I added pockets on the sides, and the back of the waistband is partly elasticated to make it more comfortable. I also sewed horsehair braid to the hem: I have a lot of braid left over from making the Black Aristocrat dress, and I think it improved the look of the skirt, giving it more structure and volume.

 Madame Vastra's skirt is a weird colour: it's not exactly brown, nor is it grey or blue. I dyed tan brown cotton grey, and got a weird brown/grey mix colour.

Waistcoat
 The next step was the waistcoat. I had a Burda pattern which I altered beyond recognition: it started out as a double breasted waistcoat with a stand collar! Once I got the desired look, I traced the pieces on to my paisley fabric, then basted the green mock-up pieces to the paisley pieces. This was to make the paisley material less flimsy. 
 Next I started sewing the pieces together, starting with the back, sides and front, then basting on the collar and finally the facing.
 I also sewed bias tape around the arm holes to prevent fraying. Once the front and facing had been understitched, I added buttons and button holes. the buttons are gorgeous, but you can't see them very well here. I bought a pack of metal buttons on ebay, and they all have this lovely pewter look to them.
 Above is the finished waistcoat. I'm really pleased with how it turned out, especially since i was worried about the collar. The collar was a bit tricky to sew on because I had to sew through many layers of cloth on the sewing machine, but it actually sits very nicely. The waistcoat looks really smart; I'm tempted to wear it to work.
Slightly blurry photo of the skirt and waistcoat together. Looks pretty good to me.

Sunday, October 20, 2013

Bioshock Infinite Cosplay: Elizabeth's Skirt

Have I mentioned that I think Bioshock: Infinite is an absolutely gorgeous game? I haven't been able to play it: I don't own a Playstation/good computer; so I've had to settle for watching cut scenes and walkthroughs. The story and characters are brilliant. I really like the character of Elizabeth: she's interesting, plays quite an active role in the game, and her design is great. 

For this year's Malta Comic Con, I'll be cosplaying Elizabeth Comstock on the first day. I wanted to share my process of making the costume. Bear in mind that i did make some mistakes, particularly with the pleats on the skirt.

Tutorial: Elizabeth Comstock's Skirt


1. First, you need a pattern
To make a pattern, take your waist measurement, and hip measurement. You also need the length of the skirt, and how much you want it to flare at the hem. 

Here's where I made a mistake: I made a two panel skirt. I recommend using 4 or 5 panels, because the skirt will have more flare at the bottom. This link has several useful tutorials http://www.pinterest.com/maxolon/sewing-project-skirts-panel-gored-godet/


2. Adding in pleats. You need to decide how wide you want each pleat to be e.g. 1 inch. Take a large sheet of paper and fold it into pleats. Stop when you have enough pleats. Cut out the pleats, and attach the pleated paper to one of panels of your skirt pattern. I think the picture above explains it better: the pleats are incorporated instead of one of the panels. 

 3. Fabric time. I bought calico and dyed it to the right colour. You need two shades of navy, and at least 1.5 metres of each.


 4. Cut out you skirt from fabric.
 You will be using the lighter blue material for the main part of the skirt. The dark blue will be used for the stripe at the bottom, and the 'button strip' decorations. 

Make sure you have enough light blue material left over for the skirt cuffs and collar, and enough dark blue material for the scarf and hair bow.

Make sure you iron your material. If the material is very creased, you might not be able to remove the creases later on.


5. Add the blue stripe on the hem. This is a long rectangle a dark blue material.
 Iron the raw edges in, pin it down, and sew it along the edge of your skirt panels. Treat it like a giant piece of bias tape.


 6. Pleat the skirt. iron the pleats down. You'll probably have to sew the pleats down along their edges, because the pleats don't really stay in place otherwise. The pleats should face towards the front of the skirt, based on stills from the game.
 7. Add the little button strips. These are just double head arrow shapes. 

Face two pieces of cloth right sides together, draw the shape  using tailor's chalk, and sew around the outline, leaving a gap so that you can turn it right side out. Sew the gap closed. 


8.  Next, sew the strips to your skirt. To make sure they stay on, you can use a small zigzag stitch, and go back and forth a few time. Then sew gold buttons to both sides of each button strip. I made mine out of polymer clay and thin wire, but it would have been easier just to buy them.
 9. Add a zip to the skirt, using this tutorial: http://www.youtube.com/watch?v=0zuOFD9izBw

10. Add a waistband to the skirt. The waistband should be 3 pieces: the front piece is cut on fold, the other 2 are separate (make sure you add seam allowance). Using iron-on interfacing with help to make the waistband sturdier.

 Add a hook and eye to close the top of the skirt.


Thursday, September 12, 2013

Tutorial: Tartan Skirt

https://www.etsy.com/listing/122914222/punk-rock-nana-kilt-irregular-gray-plaid?ref=favs_view_1
I love tartan and plaid, especially black and red designs, but most tartan skirts I find are tiny pleated miniskirts that are just too short for me. I happened to find the skirt on the left, and loved the design. I bought some tartan fabric and tried my hand at making a similar skirt.

1. Fold your fabric in half, then in half again, create a square of material. I folded mine first long edge to long edge, then short edge to short edge.

2.  You need to create a circle for the waist. This means calculating the radius of your circle.
To do this, you need the equation
C = 2 x Pi x radius

C is your waist (or hip measurement); for example, 85
85 = 2 x 3.142 x Radius
Radius = 85 / (2 x 3.142)
Radius = 85 / 6/28
Radius = 13.5 cm

Draw your quarter circle at the top corner where there are folded edges.

Now, you need to decide how LONG you want the skirt to be. Unlike a circle skirt, the longest part of the circle skirt starts at the top corner, where you waist radius has been drawn, and stops in the bottom corner diagonal to the waist. 

If you find this confusing, I recommend this website http://gothfashion.info/circlepixie.php

3. Make sure that you have left seam allowances (I think 2.5 - 5 cm is good), and cut out your skirt. 


4. Lay your skirt out flat, and cut up one side. This is how you will get into the skirt.

If you don't want to cut your skirt, you can make the waist hole bigger, and make an elastic waistband.

I recommend making the hem LONGER than you think it needs to be. You can always cut off the excess, but you can't add on more.


5. Try the skirt on. This will help you decide how long or short you want it to be.

6. I forgot to take photos of the next bit. That was silly. :(
However . . . .

You need to hem the skirt. I did double turned hems. This is where you turn the hem up once, then twice. This traps the raw edges and hides them. I hate raw or frayed edges, so I normally double turn my hems.

I actually made a mistake with my skirt. I cut it too short, and had to create pseudo bias tape, which made the skirt about 2.5cm longer.

7. Time to add a zip. I think this video gives a very clear explanation of sewing zips:


8. Waistband time! The waistband is a long rectangle. It is your waist measurement, plus 10 cm. For example, if your waist/hip is 85 cm, add 10 cm. You add 10 cm for seam allowance, and to create a flap to fasten the skirt.

9. Iron interfacing on to your waistband. This will give it structure. 

10. Take your waistband and iron it so that it looks live a piece of bias tape. This means that you fold 2 cm on side over, towards the centre of the waistband (on the wrong side). Below is a very rough illustration of what I mean.

11. Put the skirt and waistband right sides together. Baste them together.

12. Fold the waistband over. Iron it, and sew the waistband down. This diagram might help (ignore any spelling mistakes please).


13. Tuck any raw edges into the waistband, and hand sew them shut.

14. Button time. Turn your skirt inside out, and decide where you want your button.

15. Take a flat button (not too thick) and sew it on to the waistband.

16. Take the flap of the waistband, and sew a buttonhole. Your waistband will fasten on the inside, so that the button is hidden.

Here is my finished skirt. I also made a matching pouch for the skirt.
If you have any question, post a comment below.


Friday, September 6, 2013

Steampunk Skirt Tutorial: Part 2: Box Pleats

The second part of this tutorial involves creating a trim for the skirt. I used this skirt as a reference:
These ruffles looked like box pleats to me. Box pleats aren't difficult, but they are a bit tedious. The method I used to make the pleats was based on this video:

Calculating how much material you need is the tricky bit. 
1. Measure your skirt hem. For example, let's say it is 70cm. 
2. Then decide how wide you want the pleats; let's say 10cm. 
3. Divide your skirt hem length by the pleat width; in this case 70/10 = 7 pleats.
4. You then need to see how much material each pleat takes up. Each 10cm pleat I made took up 20cm of material i.e. 10cm x 2. That means that the pleat material needs to be 2x the length of the skirt hem. In our example, that's 2 x 70 = 140cm.

5. Make sure you have some extra material on hand, just in case!
6. Once you know how much material you need, cut it, but make sure you leave seam allowances and hem allowances. I double turned my hems to prevent fraying.

7. Start pleating. I used the technique in the video, with a piece of card 5cm wide. Make sure you pin them down. I did not iron my pleats down, because I wanted a more ruffly look.
8. Baste the pleats down, and face them right sides with the skirt. Pin them down.

9. Check how they look. If you like it, sew it down.

10. To make the pleats look softer and more ruffled, stroke them downwards with your hand. You should get some nice cascading ruffles.

11. You can add another row of pleats or leave it as it is.