
.jpg)
.jpg)
I was thinking about the first flapper dress that I made; it's pretty, but doesn't scream Twenties when I look at it. I really wanted something that looked like a period costume, with a modern twist. I really wanted to avoid adding more fabric to my stash (it looks like a hamster nest of hoarded fabric at this point!). Luckily I had some black satin that was ideal for this project, and had just enough to make this dress.
.jpg)
Went a bit overboard with the detail, but it looks so pretty.
 I started by drafting a simple pattern. Flapper dresses are supposed to be quite shapeless, so I ended up with a trapezoid piece for the pattern. But I didn't want to keep it simple. I wanted a hem with a lot of movement, so decided to make a pleated hem. I altered the pattern by adding a dropped waist, and made the bust a bit curved, like a tank top. I also added bust darts to give it more shape.
When I cut out the bodice, it looked like this

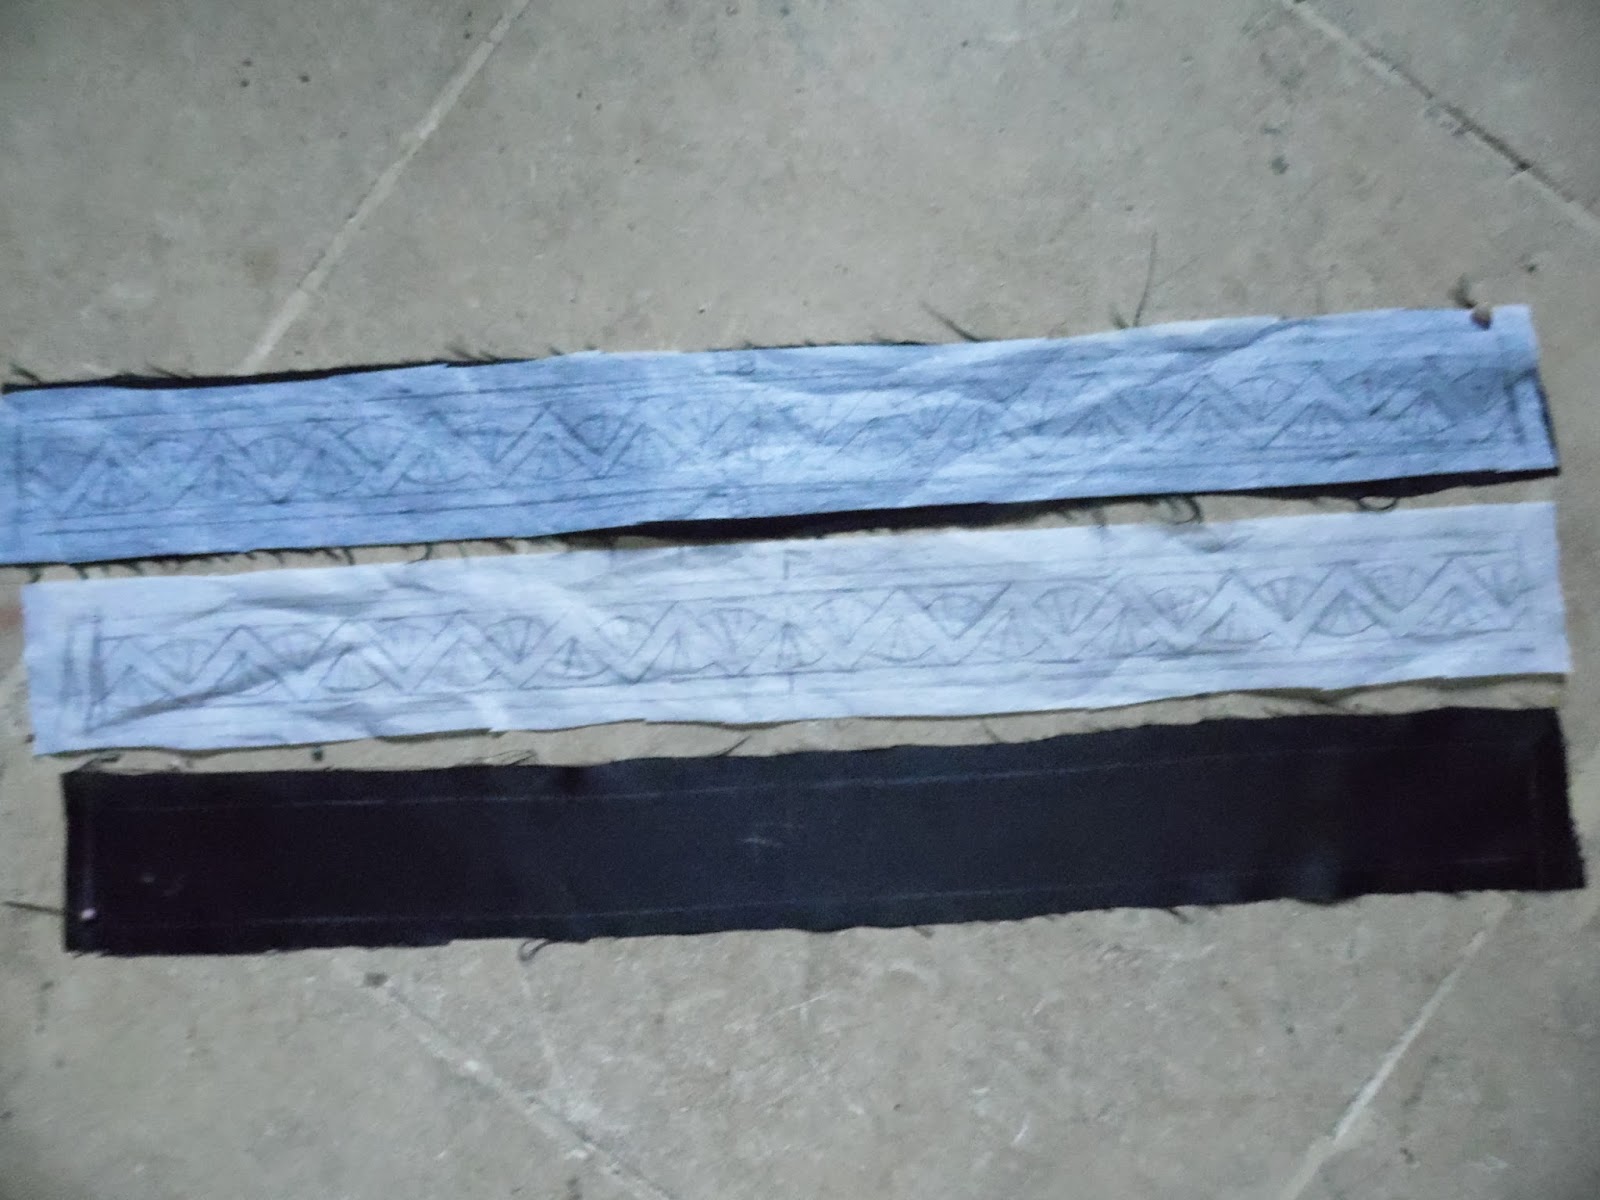


I also had to figure out the pleated hem. I had a limited amount of fabric, so the pleats aren't very deep. To make the hem more interesting, I made it spiky: I was inspired by one of Cyd Charisse's dresses in 'Singin' in the Rain'. Ironing the pleats was not fun: poly satin and irons do not get along, and I actually burnt one piece of fabric. I used a pressing cloth and a piece of card to make the pleats look sharp, and ironed on a low heat.
 The next step was beading. This was very time consuming. I spent two weeks sewing little black beads on over the silver waistband, skirt, and neckline, bead by bead. I learnt a few important things about beading:
- Add only two or three beads to you stitch; more than that and the thread is pulled out of shape, and your design looks wonky
- Knot the thread multiple times to make it secure
- If you've painted the fabric, you need a very sharp thin needle; a thimble is also handy.
- Keep cats away. They see the moving thread and they want to play with it, and they will destroy all your hard work.
Ta da, finished neckline!

And then the photoshoot came:
.jpg)
.jpg)
.jpg)
.jpg)
These photos were taken in Valletta near Fort St Elmo. It was incredibly chilly: there was a breeze blowing through the streets, and satin, nylon and feathers aren't the best protection from the elements. I cobbled together a cigarette holder from a chopstick and some paper, and burnt the tip to make it look more authentic (don't smoke, and probably shouldn't after all the asthma attacks I had last year thanks to an allergy to chicken feathers. It did stop, but I'd rather not risk getting it again).
.jpg)

.JPG)
.JPG)
.JPG)
.JPG)
.JPG)
.JPG)
.JPG)