I was lucky enough to go to a photoshoot a week or two ago. The photoshoot was for people in their Carnival costumes, but I thought I should wear my Merida costume, because I had no nice pictures of it.
Courtesy of Mandy's Photography and Taylor's Photograph, I now have several beautiful photos of my costume.
.jpg)
Merida is one of the best Pixar/Disney characters to date. She's bold and brash, rides and shoots like a badass, but she's kind, and smart enough to learn to put her mother's lessons into practise, and to compromise by the end of the film.
.jpg)
The photoshoot was in Ta'Qali National Park. This is one of the few large green areas in Malta. There's a pine wood next to this strange modern structure. If you have your back to all the buildings, the forest looks very wild and mysterious. I was really lucky that there were two photographers and only six people in costume, because I managed to do a lot of poses and the photographers got a lot of photos.
.jpg)
I really wanted to use all the natural scenery for the photos, which meant a lot of leaning against trees and bushes, and climbing trees (I needed a leg up: this dress is not the best for climbing! How did Merida manage to get up that cliff?)
.jpg)
My wig was a bit of a pain, because it kept falling into my face. I'm so grateful that the photographers were patient and didn't mind me arranging my wig; they even helped me get my hair out of the way, or untangle it from trees (sometimes it got stuck in rough bark or pine sap)
.jpg)
I'm really happy with how my makeup turned out. i got up early to apply it. Most of my time was spent trying to paint my eyebrows orange. It involved glue, spirit gum, a lot of foundation, and orange eyeshadow. I was partly successful, as you can see in some of the photographs. i went with a natural makeup look; just enough to hide any spots or shadows. It took longer to apply because I couldn't use my middle finger properly-my new cat bit me and the finger was very swollen. You can actually see a plaster on it in some photos.
.jpg)
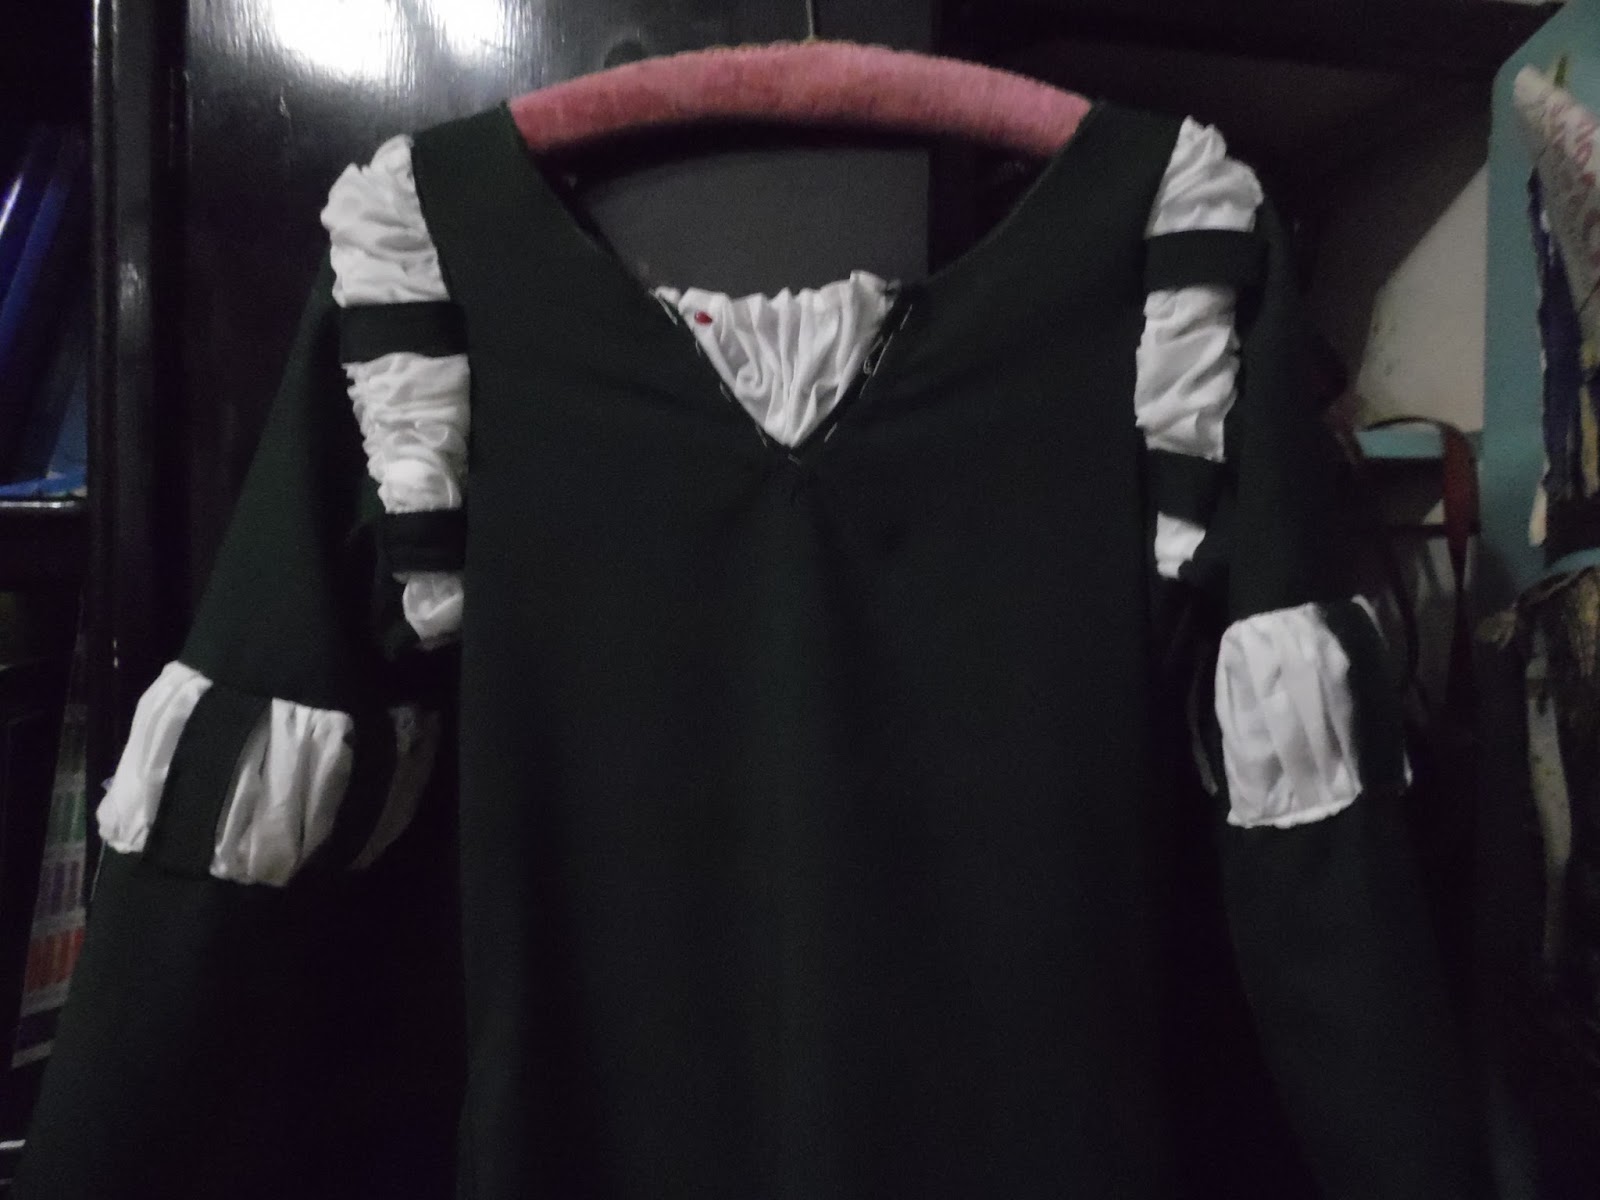
Merida's costume is great because it's very iconic: you can figure out straight away who I am cosplaying, even without the props (though they really pull the whole cosplay together). I actually used a very similar pattern to how dresses were constructed in Medieval times. It's basically a rectangle that goes over the head, with triangle gores to make the skirt wider, and tailored for a better fit. It even closes with laces at the back. Admittedly, it is difficult to get in and out of because of this, and it would be smarter to just add a size zip.
.jpg)
Let's talk props. I love having props for a photoshoot, because they help me to act more like the character, and give me something to do with my hands. At the steampunk photoshoot a few months ago, I didn't have any props and had to mess around with pine cones and leaves to give my hands something to do. Props make everything better!
.jpg)
The bow is a children's plastic toy. I wrapped it in masking tape and painted it brown, and wrapped vinyl around the middle for a grip. This bow is obviously non-functional, even with a tightly-strung bow string, but it looks pretty good..jpg)
The quiver was a very lucky find. We had a bamboo tube quiver at home, complete with arrows. It looked like it was inspired by Amazon tribal or Native American culture, so I covered it with vinyl to make it more accurate. The vinyl came from an old coat; the coat is very big, and i've used it for so many costume. The bracers and armour on my Wonder Woman costume are actually made of repainted pieces of that vinyl.
Anyhow, I covered the bamboo quiver with vinyl, staining it with shoe polish to get a tan colour. I also made a belt using an old broken belt and more vinyl. The belt and quiver are mostly held together with hand sewing and Bostik glue. It's surprisingly effective.
.jpg)
I also re-fletched the arrows. To fletch an arrow, you basically cut a feather in half along the 'spine' of the feather, and glue the feather pieces to the top of the arrow (I used Bostik).
.jpg)
You can find the photographer's at these links:
Taylor's Photograph: https://www.facebook.com/pages/Taylors-Photograph/165756750105590?fref=ts
Mandy's Photography: https://www.facebook.com/pages/Mandys-Photography/207445399437312?fref=ts


.JPG)