Showing posts with label steampunk. Show all posts

Monday, March 3, 2014

Wayward Victorian Carnival Costume

CARNIVAL is here! It's a big thing in Malta. Really big. The capital city is flooded with huge parade floats, street stalls and people in costume for 4 days. I went yesterday with some friends. The day before, I realised I didn't have a costume (though actually if I'd thought about it I could have worn the Amanda Young costume. Stupid stupid :( ), so I decided to put one together.

I love Emilie Autumn's style, and so I decided to put together a wayward Victorian inspired costume, partly inspired by this costume that Emilie Autumn wears:


I made a corset, though honestly this is more like a mockup than the real deal. This was made in a hurry for today, so I only spent around 12 hours working on it. This is not my best work. 


The corset is quite wrinkly. That’s because I used interfacing on the white material to stop it stretching, but the material is trying to peel away from the interfacing under stress. 
The plastic boning is also not working. This is a fashion corset and not meant for tight lacing, which is why I used plastic. I’ve had good results before, using plastic ties (you find them around furniture boxes or six packs of water). The kind I used this time is just too flimsy. It buckles under stress, which is another reason why the corset looks so rumpled.

I also had problems sewing the boning channels. I am terrible at sewing the channels neatly: they always seem to get wrinkled or misaligned, or they’re too narrow. The bias tape is also wonky, though it doesn’t show too much.

Since I used only materials that I already had at hand, I don’t feel too badly about this corset being unsuccessful. This is something I would definitely like to try remaking, ideally using more durable materials such as coutil or cotton twill. It’s difficult to buy metal corset bones in Malta, so thick cable ties will have to suffice. It might also be worth adding a waist tape and busk closure. 
 The rest of the costume is just clothes I already had, such as the jacket from Late but Lucky, a steampunk style skirt, lace gloves, a feather fascinator, boots, thigh highs and a random flower hair clip. 


Friday, September 6, 2013

Steampunk Skirt Tutorial: Part 2: Box Pleats

The second part of this tutorial involves creating a trim for the skirt. I used this skirt as a reference:
These ruffles looked like box pleats to me. Box pleats aren't difficult, but they are a bit tedious. The method I used to make the pleats was based on this video:

Calculating how much material you need is the tricky bit. 
1. Measure your skirt hem. For example, let's say it is 70cm. 
2. Then decide how wide you want the pleats; let's say 10cm. 
3. Divide your skirt hem length by the pleat width; in this case 70/10 = 7 pleats.
4. You then need to see how much material each pleat takes up. Each 10cm pleat I made took up 20cm of material i.e. 10cm x 2. That means that the pleat material needs to be 2x the length of the skirt hem. In our example, that's 2 x 70 = 140cm.

5. Make sure you have some extra material on hand, just in case!
6. Once you know how much material you need, cut it, but make sure you leave seam allowances and hem allowances. I double turned my hems to prevent fraying.

7. Start pleating. I used the technique in the video, with a piece of card 5cm wide. Make sure you pin them down. I did not iron my pleats down, because I wanted a more ruffly look.
8. Baste the pleats down, and face them right sides with the skirt. Pin them down.

9. Check how they look. If you like it, sew it down.

10. To make the pleats look softer and more ruffled, stroke them downwards with your hand. You should get some nice cascading ruffles.

11. You can add another row of pleats or leave it as it is.


Saturday, August 31, 2013

Tutorial Steampunk Skirt: Part 1

Steam Ingenious is holding a contest:
 Your Best 2172 Contest  
The idea is to use Simplicity Pattern 2172 in a unique way. I've ordered the pattern (why is post from the USA so expensive?!). I was thinking of making a sleeveless coat, something like this:
For the skirt, I was thinking of making a high-low hem skirt with a bunch of ruffles, something like these designs:


 I'm not sure how I'm going to achieve all the cascading ruffles, but I have figured out the base skirt.

You will need:

  • a long skirt
  • bias tape
  • thread 
  • sewing machine
  • pins

 1. The base skirt should be quite long. Mine is ankle length. 
 2. Fold the skirt in half and sketch a curve from the centre of the skirt to the side seam. Make sure that you don't make the skirt too high in front: use an existing skirt as a guide if you need to. Pin along the line that you marked.
 3. Carefully cut the skirt, a few centimetres below the line you drew, to allow for mistakes. If your skirt has lining, cut the lining separately from the main skirt material. Cutting too many layers of fabric can result in jagged cuts.
 4. If you need to take the skirt in, do it now. To avoid bulk, take in the lining layer and the outer layer separately. I unpicked the waistband, took in the skirt, then resewed the waistband. It is tedious, but it reduces bulk.
 5. Finish the seams. You can use bias tape, or sew a zigzag stitch along the edge.
6. Here are my finished edges. This will stop any fraying. I used bias tape on the lining, and a zigzag stitch on the main material. 

Part 2: Making the ruffles.


Saturday, July 13, 2013

Making Steampunk Stripes: Part 2: Lace

To finish off the steampunk stripes dress, I needed to put a little lace on the neckline. The lace I used was actually cut in half along its length, so that I would have more lace to use. I then tacked it to the outer layer of cloth. The lace was pointing down when I tacked it, so that when I turned the seam allowance inwards, the lace would then point up. Once the lace was tacked on and the two layers of material were pinned together, I sewed everything by hand using teeny tiny stitches. It does need to be ironed and it might need top-stitching to hold everything in place, but the dress is more or less finished! 


Now I'm trying to think of what to wear with it. Boots and tights are decided, but I'm not sure about whether to have a choker or a jabot, a hat or a fascinator, gloves or arm warmers. 
Any thoughts?

Tuesday, July 9, 2013

Making Steampunk Stripes: Part 1

I have a minor problem: too much cloth! It's sitting on my shelves wrapped in plastic cases, waiting to be used (I sound like Eddie from Absolutely Fabulous: 'Battery clothes!').
So I'm trying to use it up rather than buying more material. I had quite a lot of striped material left over from making my Um of Umbridge costume, and wanted to use that. I really like Emilie Autumn, so when I found this photo of her, I wanted to try and emulate the dress she was wearing:

I also wanted to try making some steampunk clothing, since the only steampunk outfit that I own is up for sale. I did a bit of research, and found some nice striped steampunk outfits for inspiration:

I came up with a rough design, mostly based on Emilie Autumn's dress, with a fitted bodice and a voluminous skirt, though much shorter than Emilie's (knee length). 

The bodice is based on a Burdastyle wedding dress pattern from March 2011. It has a princess seam and a dip in the front. I made the neckline much lower, since it was too high and constrictive for me.
Cutting out the stripes so that they made a continuous pattern was difficult. I managed by using the pattern pieces and laying them over the cloth. I then marked where the stripes were, and arranged the paper pieces until I knew where I wanted to the stripes to be. I then laid the paper pattern pieces over the cloth so that my markings matched the stripes, and traced around my paper pieces.

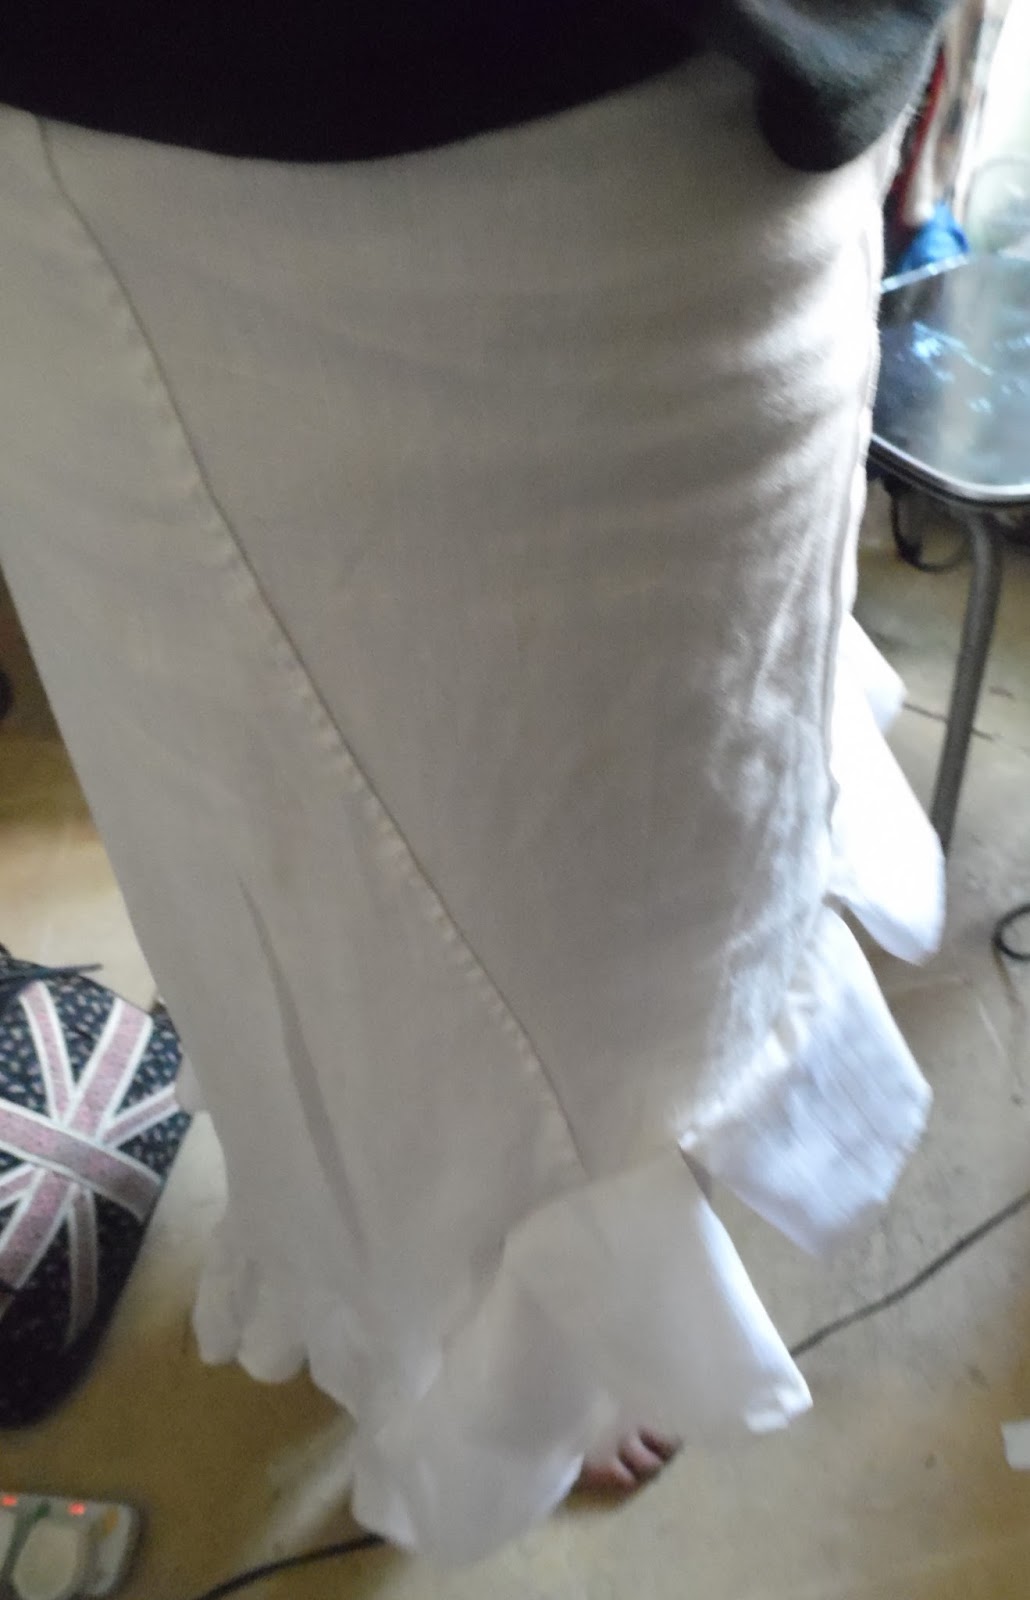
Next came the skirt. I didn't have enough material to make a circle skirt, so I decided to make a gathered skirt. Gathered skirts are very easy: you just make one long rectangle, and gather it until it fits the waist of the bodice. Mine was a little more complicated because I wanted to add side pockets. I ended up cutting my material like so:
The pocket pieces were attached to the cloth pieces, and sewn together to make pockets. Once the pockets were done, I sewed up the sides, leaving the top of one side partially open so that I could attach the zip.
I then gathered the skirt by hand (my machine doesn't gathered very well), and sewed it to the bodice. I made sure that the stripes aligned nicely before I sewed everything.
Once skirt and bodice were sewn together, I attached some black lace to the hem of the skirt.

Since the striped fabric was slightly transparent, I made lining layer from thin white cotton for the bodice, skirt, and sleeves. The skirt lining is a half circle skirt, because having a gathered lining and gathered out material would create bulk at the waist.

Attaching the lining was slightly tricky. First I attached the invisible zip in the side of the dress. Next I put the lining inside the dress, so that the wrong sides of outer and inner layers were touching, and pinning everything in place. I hand sewed the lining layer to the zip. 

To make the sleeves, I took a normally sleeves pattern, and divided it in six. I cut it into six pieces. Next I cut out inch wide rectangles the same length as my sleeve. A rectangle piece was inserted between each piece of sleeve, to create a puff sleeves, like this: 
 The green pieces are the inch wide rectangles that I inserted into the sleeve pattern. I  gathered the sleeves (and the lining sleeves), sewed them to the bodice, and gathered the lower end of the sleeves. A band of black material was sewn around the gathered edge. I used it like bias tape to hide any raw edges.

To make the dress look more Victorian, I created a fake placket for buttons, then sewed some buttons on. The buttons are handmade from Polymer clay and paper clips. You basically create the shape of your button, twist a section of paper clip into a V shape, and stick it into the clay, then bake it.
Difficult to see them, but they're there.

So far, I really like this dress. It looks pretty, and has pockets! It also seems to fit very well. I need the lace trim I bought from ebay to arrive, so I can add it to the neckline. I'm also thinking about accessories. I have a hair band with rooster feathers and a pearl which might look like, but I don't know what to do with my hair. I was also thinking of making a choker and some arm warmers (Pink Absinthe's shop has some lovely pieces, though I can't afford them at the moment). I've got some nice tights and boots that would look nice with the dress.

Any thoughts on steampunk accessories?

Tuesday, March 27, 2012

Etsy: Chokers

Hello world. I've uploaded some new items to my etsy shop.

Bottlecap Lace Choker
Firstly, this bottlecap choker (don't ask me why it is rotated-blogger seems to have a glitch). I found a bunch of pink Diet Coke bottlecaps in London, and snatched up as amny as I could (to the surprise of passers by). I turned this one into a pretty beaded pendant, and sewed it to this strip of stretch lace (salvaged from a pair of leggings).
Mechanical Marvel Steampunk Lace Choker
Secondly, this steampunk style lace choker, with a gear shaped pendant. I originally made this for a steampunk costume, but the time has come for it to find a new home. The lace is the same kind used for the pink bottlecap choker.

Saturday, December 3, 2011

Malta Comic Con

The Macarena
I should have typed this up a while ago! Well, Malta Comic con has come and gone for another year, but what an event it turned out to be. It was easily the best convention yet. The talks were interesting, the guest artists were wonderful, and there were so many cosplayers (my favourite is probably my friend who wore Alice's costume blue dress, made by the Mad Hatter, from the Tim Burton film). I had so much fun.

My table was one of the trickiest things to prepare. The first time I put the pictures up, it looked a little plain. I added my steampunk costume to the wall, and a tree branch-a real branch that my mother found out on the Victoria Lines! I also had some nice fake velvet to drape over the table. Unfortunately I don't have any good pictures of the stand.

I got a really good table this convention, in one of the main exhibition rooms. I also had a lot of really great artists in the same room: David Lloyd, John Haward, Susan Waitt (a really great local artist), and down the steps there was Sonia Leung and Emma Viceli, as well as many other local artists.

For the first day I wore my Babydoll costume. something has been bugging me about that costume for a while and I've finally found out what: I set the sleeves upside down! Oh well, it looks good. Though quite a few people asked where i had left my weapons (I was lazy and didn't bring any).


This is the first year that i have actually made any profit, thanks to the steampunk and bottlecap jewelley, and Soulcakes. I don't think I've mentioned Soulcakes before. This is a little project I worked on through the summer right up until comic con. It's a simple photocopied comic (I think they are called ashcans).You can read it in its rough form on my deviantart account , or order a copy from me (1.30 Eur per copy), but the basis of the story is as follows: would you sell your soul for a pancake?

Trade was slower on the second day. I managed to sell most of my necklaces (I gave the last two away as presents), two mini tops hats, almost all the copies of Soulcakes, the bunny ears, the kitty hat, and numerous post cards. I wore my Sweet Pea costume for the event. The hood is smaller than I would have liked it to be. My own fault: I should have made a mockup.

Since this blog focuses mainly on cosplay, I'll talk about the cosplayers now. Overall, a great turnout, especially for the competitions. Not everyone had made their own costumes, but for the most part everyone looked like their character. One of my friends did a great Chrono (from Chrono Crusade) cosplay, complete with wings; all of which she'd made by herself. I was rooting for her, but she and her friend (cosplaying as Rosette) lost to a Lupin group, though they were a close second.

There was a lot of controversy surrounding the contest, between some competitors and the main cosplay group in Malta. There's been friction between independent cosplayers (often former members of this group) and the group. At the contest a lot of people specifically stated that they were entering to beat this group. there were lot of technical problems, which led to rumours that this group was sabotaging the contest (it didn't help that the day before, the winners had all been members of this group). There was also controversy over certain participants not being allowed to compete because of their costumes (they were cosplaying a band, and apparently cosplays of real people aren't welcome. What does this mean for my Lady Gaga cosplay?) They were allowed to compete after complaining to the convention organisers. This annoyed me: why shouldn't you cosplay figures in the music industry eg. Gaga, Keisha, Kiss? I mean, the year before the winner of the contest had been cosplaying Freddy Mercury! Any thoughts on this issue?

Controversy aside, the overall performances were good. But GAH! Caramell Dansen was used as an entry. On the forums of Cosplay.com says this is a major faux pas in skits. This was actually one of the winning skits! I will give that cosplayer credit: she knew her dance, she made it fun, and she kept going even when the music cut out.

A lot of skits were good, but needed polishing. the Yu Gi Oh skit is a good example. Plenty of the people in the skit were not dressed as actual characters or monsters from the show. Isn't that kind of a cop out? It's a bit like cosplaying people from Pokemon and throwing ordinary soft toys around, without a single Pikachu in sight. There was a good Vampire Knight skit (the yaoi joke was short, sweet and funny), though Yuki spoke a little too fast to hear her properly.

 A few skits suffered from being too long: there was an impressive Metal Gear Solid Snake (is that the right name?), with a moving doorway (it even had a laser built into the frame), which featured the character making his way through the laser guarded door. Overall impressive, but my attention lagged: let's face it, a guy shooting at invisible enemies is not that thrilling. One of the audience also pointed out that at the end of the skit, the cosplayer walked AROUND the doorway, not through it-the whole point of the skit was that he needed to get THROUGH the doorway.

Mind, if he'd had fellow cosplayers in his skit, he would have been stiff competition for the group skit category.

Another skit with similar problems was an individual cosplayer, dressed as Cloud from Final Fantasy. The skit was a recorded interview-I think. It was a bit too long, and random-towards the end he began playing air guitar to Bon Jovi's 'Its my life'. I know squat about Final Fantasy, but is this what the character would do?

I'm so pleased that we won the group skit. the judges were all very complimentary. Apparently the fact that we continued our skit even when the sound cut clinched our victory. So happy . . .

And now for something completely different . . . photos!
Our group: Sweet Pea, Blue and Rocket; and one of the judges, Sonia Leung. She mentioned doing a Bayonetta cosplay: I'm holding her to it :) Look at the trophy (rocket's holding it)
Ahh, the smell of victory. LOL. I love Rocket's costume: it looks really professional.
blue is not happy! I need proper stockings and boots. I need flat boots, and didn't want to spend money on them, so I substituted with cool looking boots instead. for photo shoots I will probably wear thigh high heeled boots: not exactly correct but they'll look good.
Revenge is sweet!
Overall, I had a wonderful time at Malta Comic Con 2011 and I hope to return next year.